|
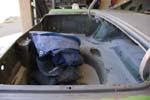
Over the past 37 years there must have been three sets of
seats in the car. |
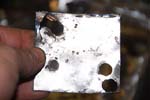
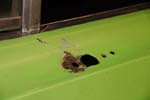
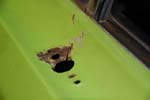
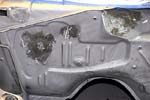
Some of the holes were torn.
The only answer was to replace
the holey metal. |
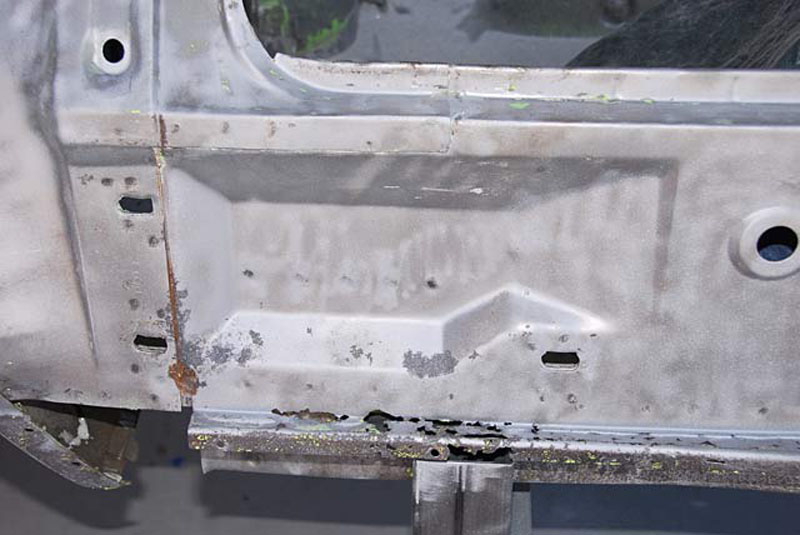
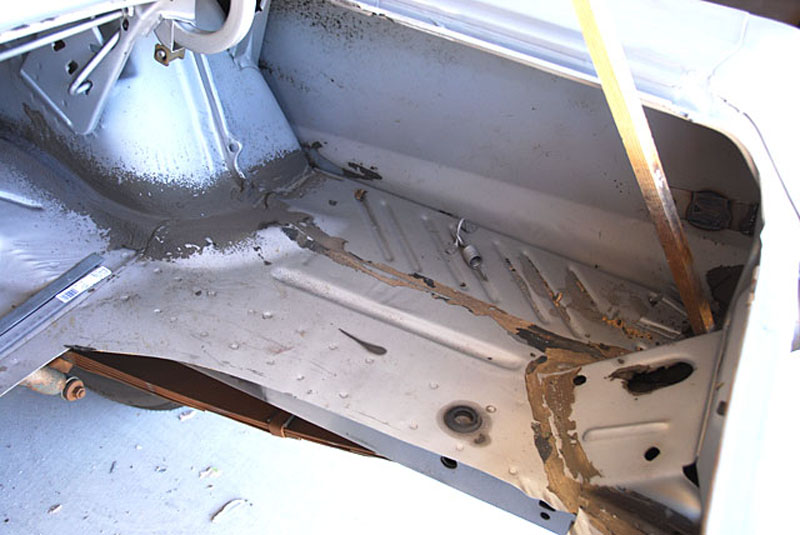
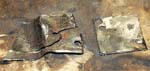
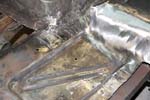
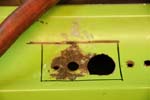
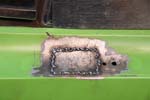
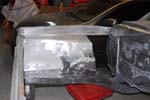
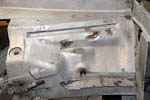
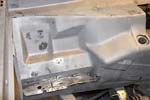
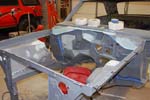
Boxed in section of subfloor.
The area had been cut out for
collector clearance with the
fenderwell headers. |
|

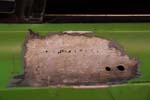
Underside of the repaired
section. |
 |
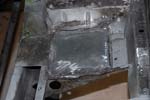
After repairs. |
|
One patch on the tunnel
and one on the floor. |
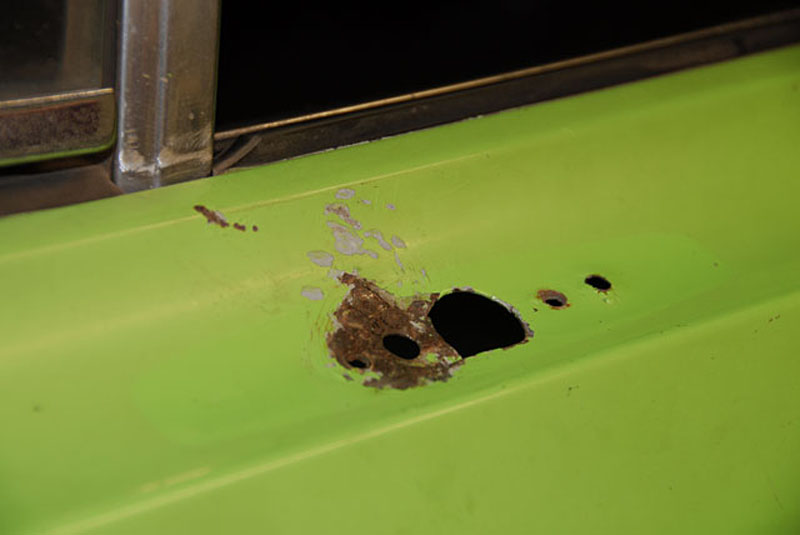
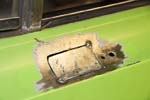
This inner fender looked like Swiss
cheese before I filled in all the holes. |
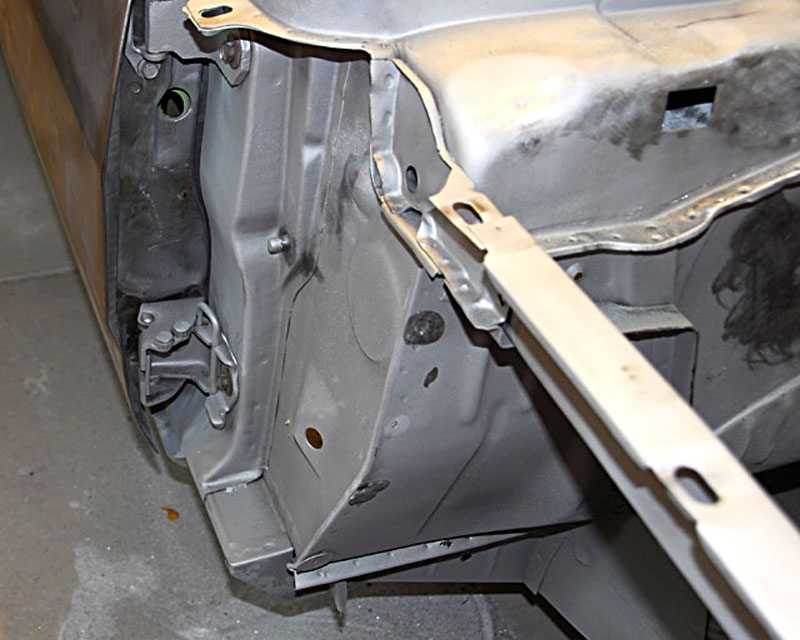
Drivers side mirror
mounting point |
|
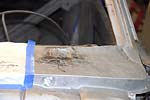
Rusted and torn metal |
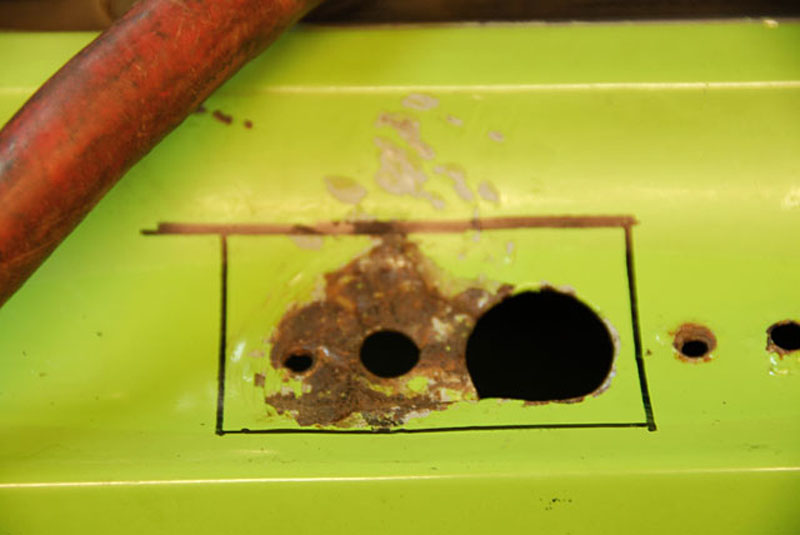
Marked out the cut |
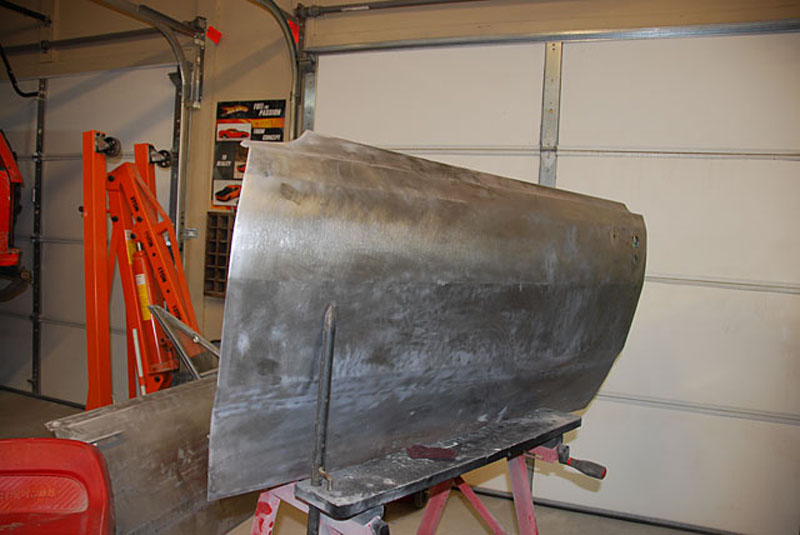
I formed a piece of metal to
match the shape of the door.
You can use a steel pipe to use
as a form for bending the metal. |
|
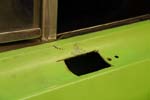
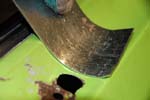
Removed bad section with
cutoff wheel |
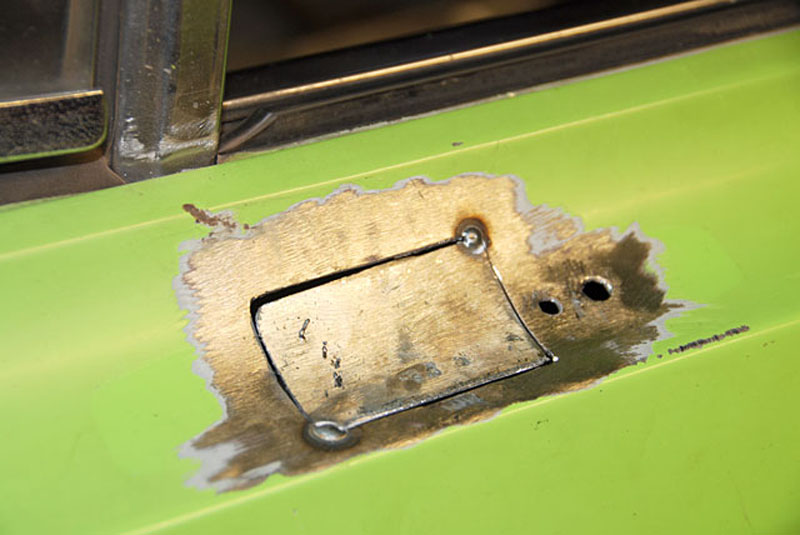
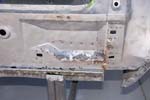
Patch tacked in place.
Hammer patch to align perfectly. |
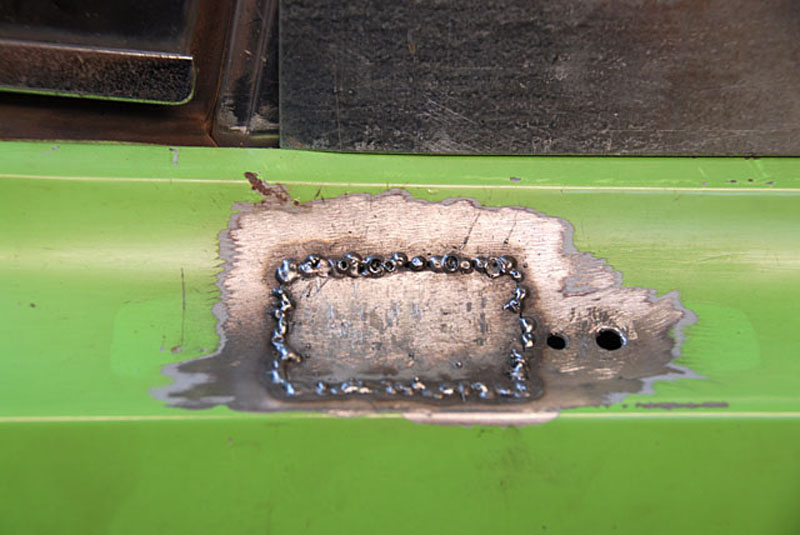
Jump around the patch so no one
area gets too hot. On a patch this small it's a good idea to let the whole
area cool after a few spot welds. |
|
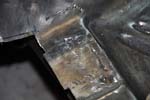
Welds smoothed with cutoff
wheel and 24 grit discs. |

Finished patch. |
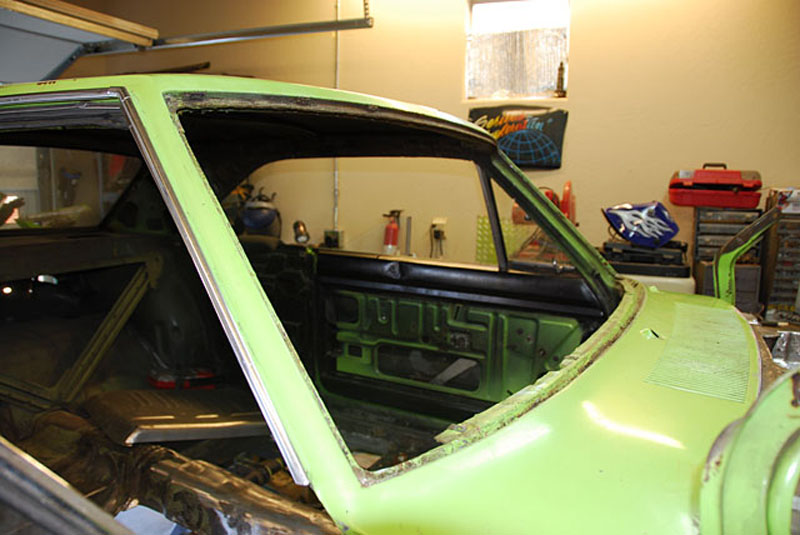
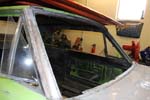
My neighbor had a glass shop come out to replace the windshield on his
truck. I stopped by asked the installer if he would remove the glass from
the Dart for me. He did the job for $25 and most importantly didn't mess
up the trim. |
|
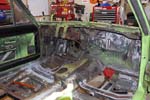
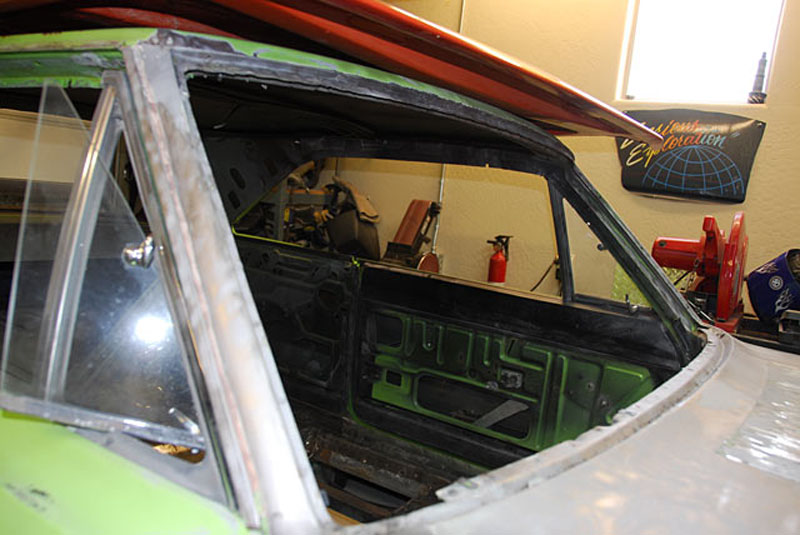
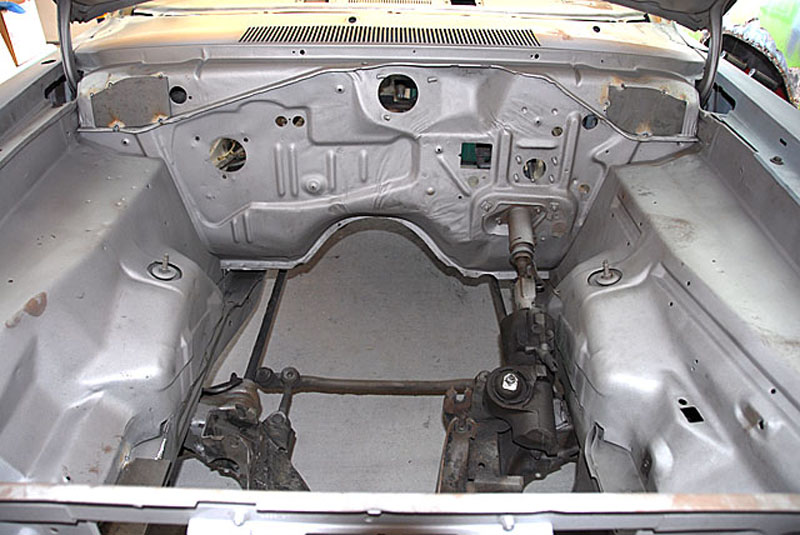
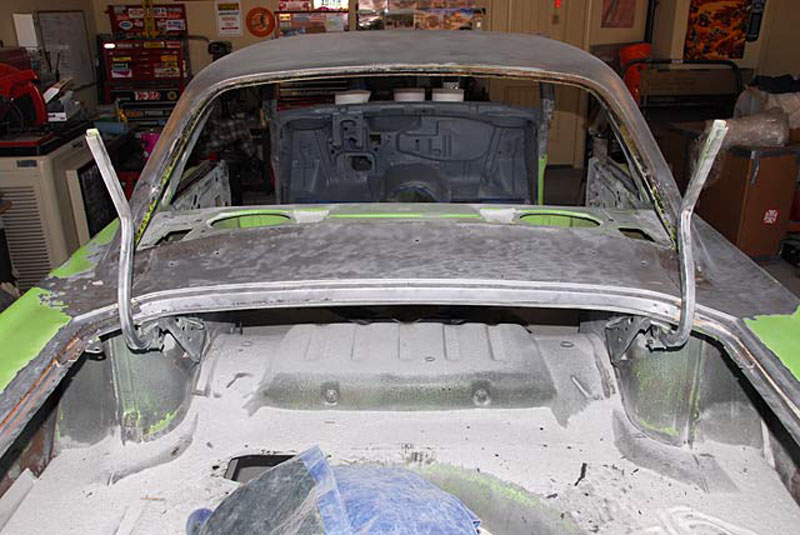
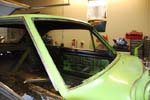
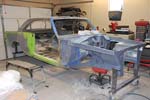
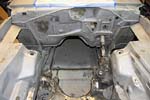
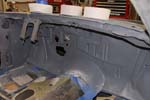
With the windshield removed
I was able to pull the dash to gain
better access to the firewall. |
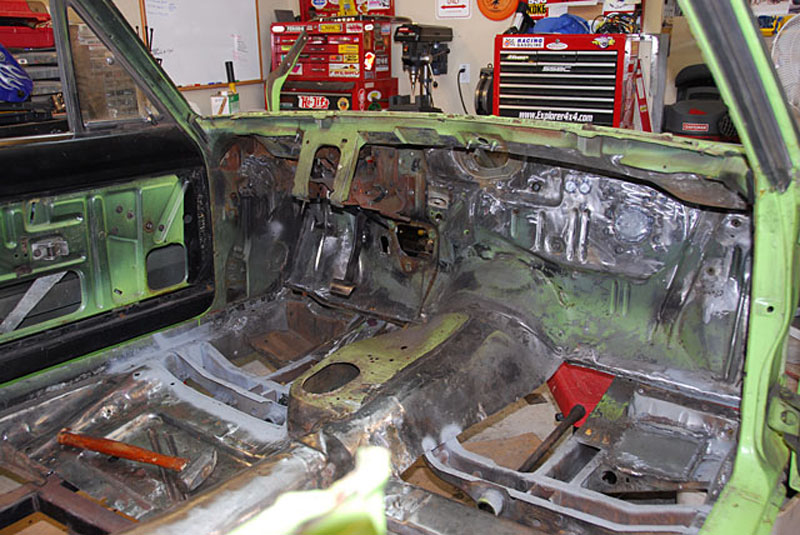
Pheww! Finally clean and ready for epoxy primer. |
. |
|
 |
 |
 |
|
|
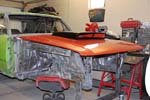
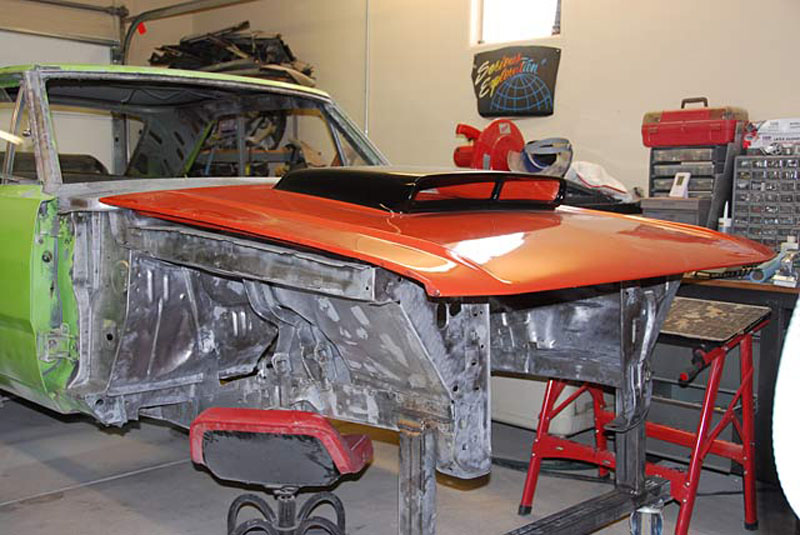
I found this fiberglass six-pack hood for $100 on Craig's
list. Exactly what I was looking for, for an unbelievable price!
|
November 23, 2007
2 coats of epoxy primer is on and first coat of Evercoat
Rage Extreme has been applied. |
|
 |
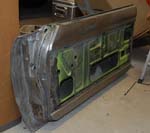 |
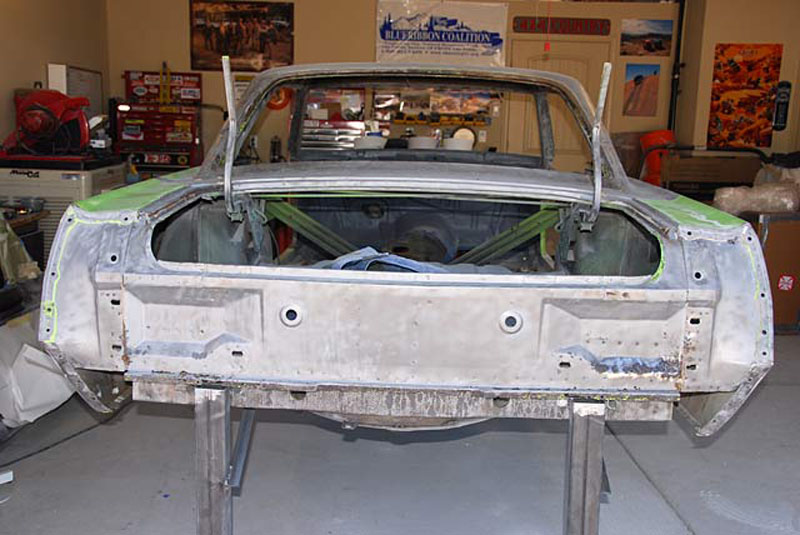
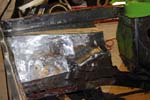
Blasted rear filler panel. |
|
Time to replace the rust with steel.
Rust isn't too bad for an Northeast Coast car. |
 |
|
|
This is where work stopped on this car. I found another Dart in much
better shape, that was already stripped to bare metal. |

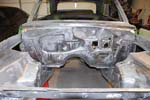
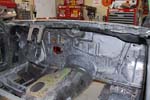
Stock firewall |
Patched firewall |
|
 |
Filled unwanted holes in fenders |
 |
|
Filled windshield wiper holes |
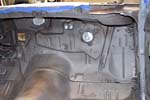
Interior view of firewall |
 |
|
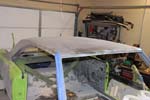
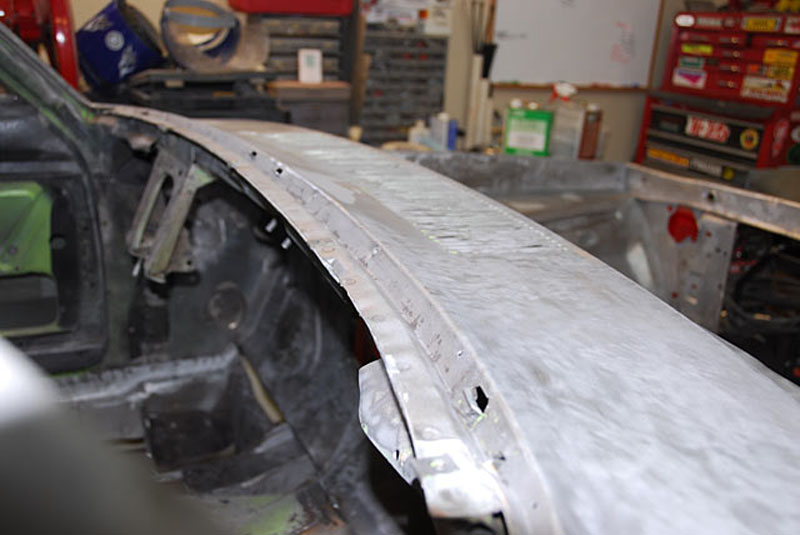
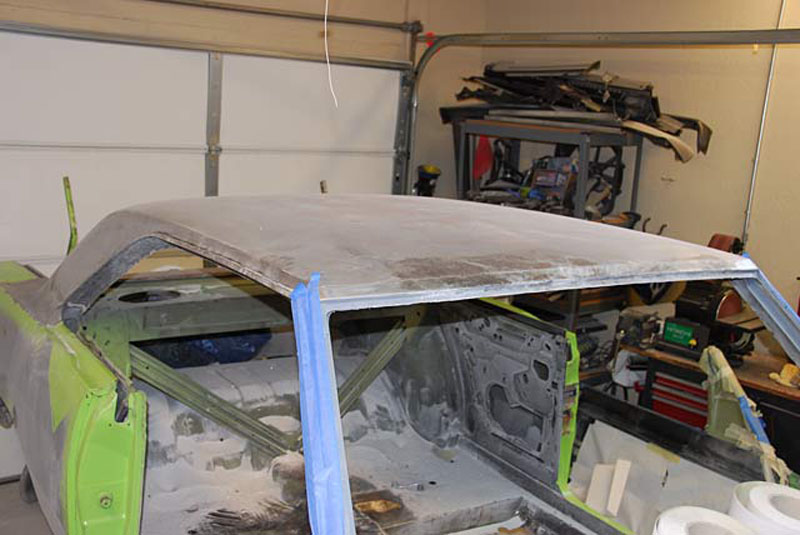
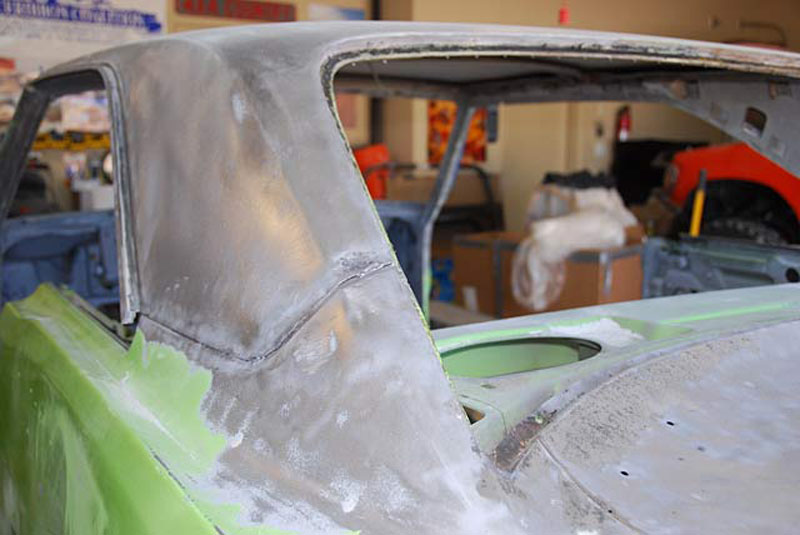
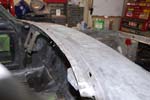
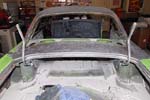
Roof has been stripped. Dark area is surface rust from
original vinyl top. |

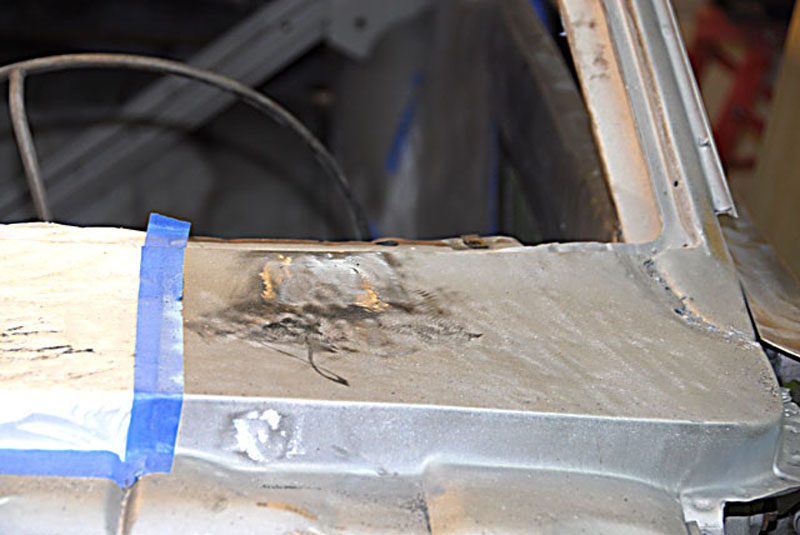
Cleaned out the junction between the roof and quarter panel
with sand blaster. |
Epoxy primed firewall |
|
 |
 |
|
|
 |
 |
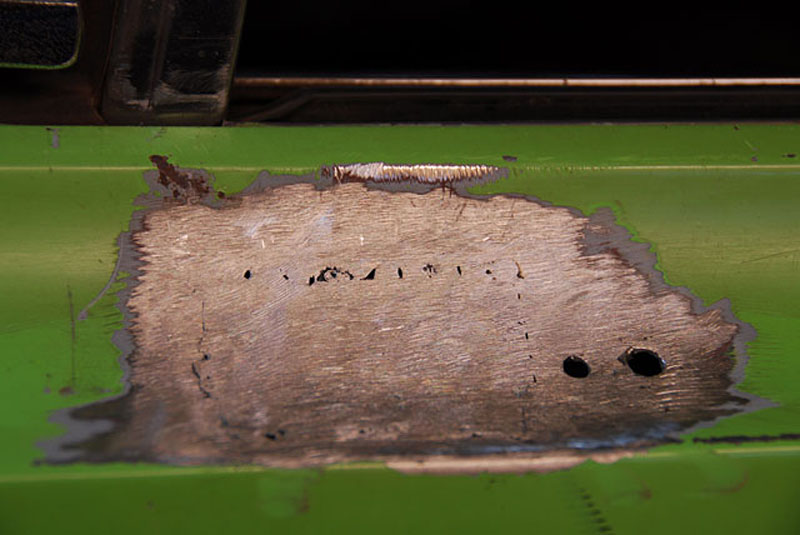
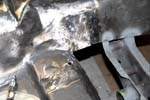
Location of "hidden VIN"
The stamp is VERY light. Sandblasting brought it right out. Scraping or
wire wheeling would most likely have destroyed it. |
|
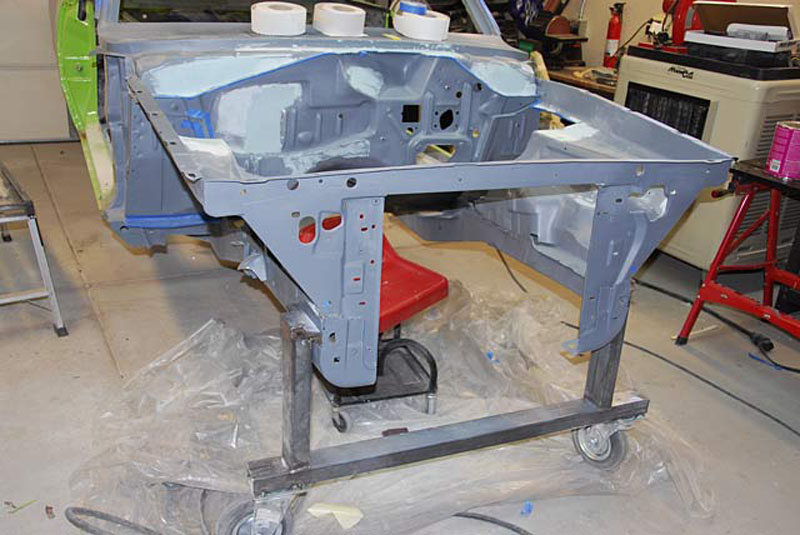
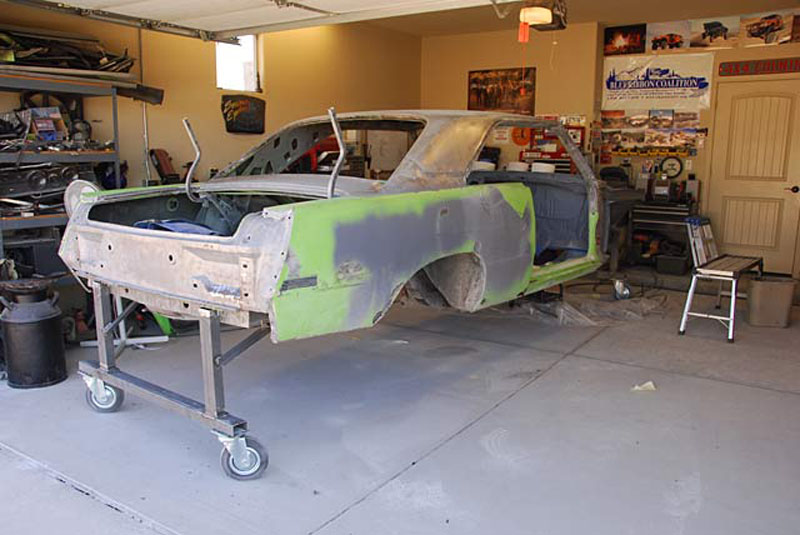
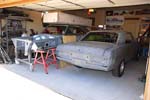
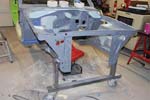
I built a jig to roll the car around on. It makes things
much easier! |
|
|
|
And |
Now |
For |
|
Something |
Completely |
Different |
|
While I was making good progress with the '70 Dart, there
was still a LOT to do. As I stripped the car down to bare metal I found
lot's of hidden problems. Worst of all, the car needed a new rear
suspension. What was in there was a hack job. The 4 link was one of the
reasons I had bought this car, I didn't expect to have to replace it from
scratch. A leaf spring relocation kit had also been installed at one time.
It was also installed poorly and couldn't be used as is. I began to
feel that I wouldn't make my two year deadline with this car, but I kept
plugging away. Until... |
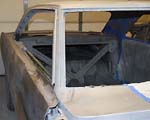
...While picking up a 440 block that I found on Craig's
list, I found a 1973 Valiant in the guys garage. The car had been entirely
media blasted, inside, out, and underneath. The car had practically no
rust. Media blasting had revealed a section of small pinholes in one of
the floor pans. Except for the 2x3 frame connectors which were installed
the car was unmolested and completely stock. Best of all the price. Only
$500, which included a $500 Art Morrison roll cage kit, 4 new tires, and
aluminum wheels. |
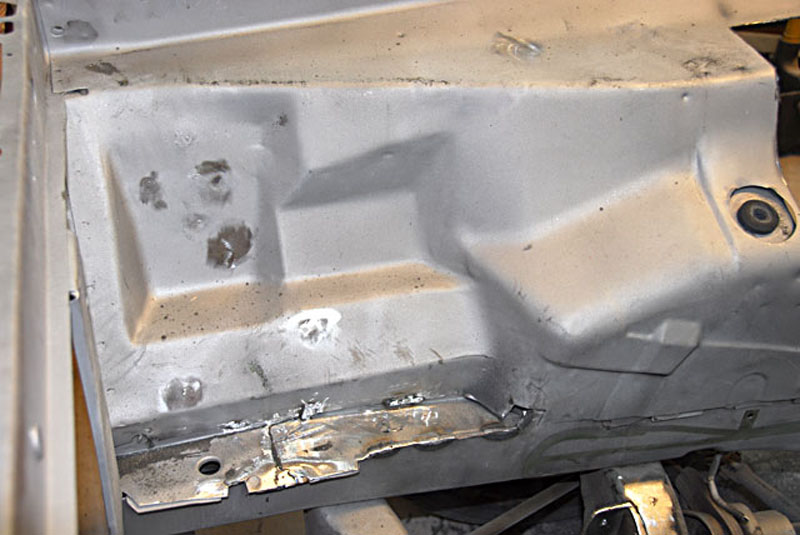
I have spent the
last few weeks getting the "new" car to the point that I had taken the
first car. That is, I filled in the firewall holes, windshield wiper
holes, cut the fenderwells for the Hooker Super Comp headers, and patched
the floor pan. I also filled in the seams between the quarters and sail
panel and at the cowl and A-pillar as well. The car is just about ready to
be entirely primed. I just need to give it a good cleaning
before it gets sprayed.
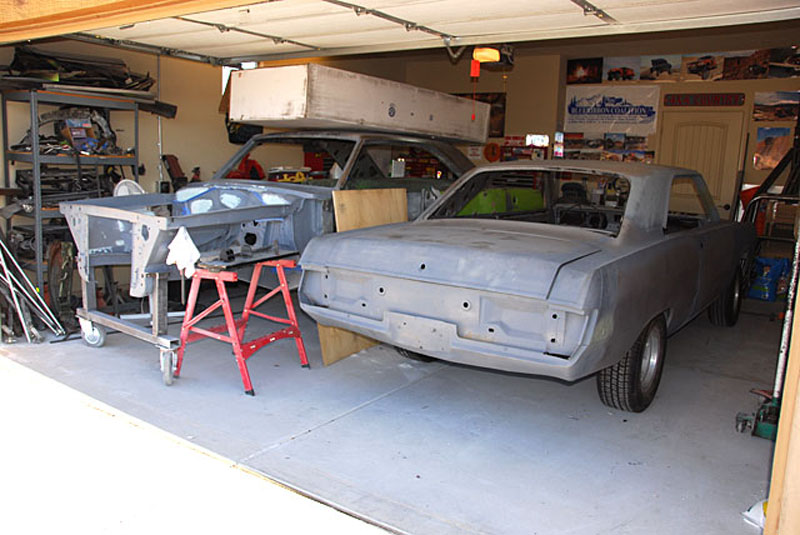
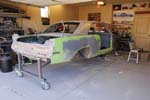
As for the '70. I covered the car in primer and wheeled it to the backyard
on it's jig. I hope to finish the body once I'm done with this project. |
|
From Dart-less, to two Dart's in six months |
 |
 |