|
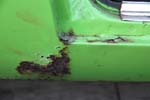
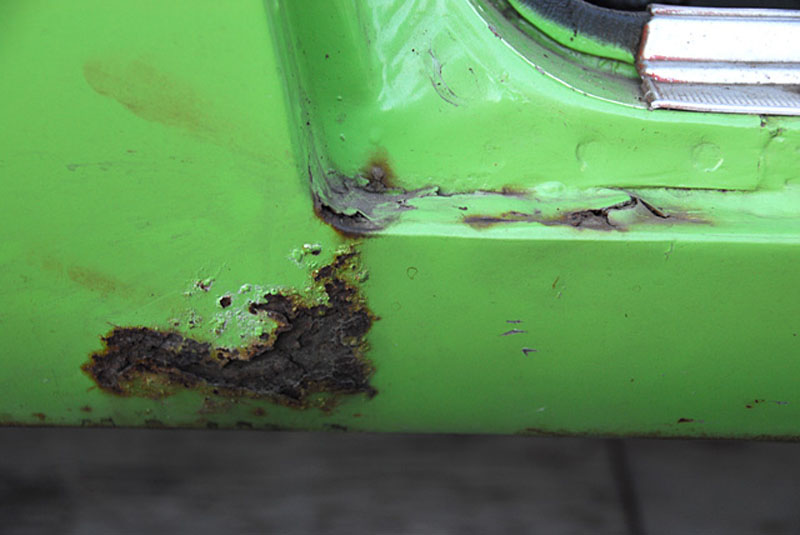
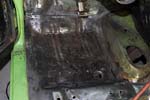
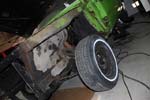
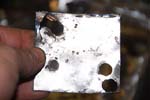
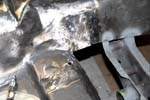
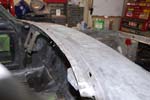
The worst of the rust |
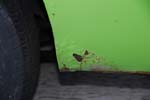
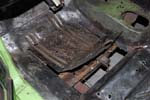
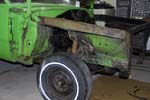
A bit more rust |
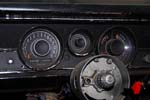
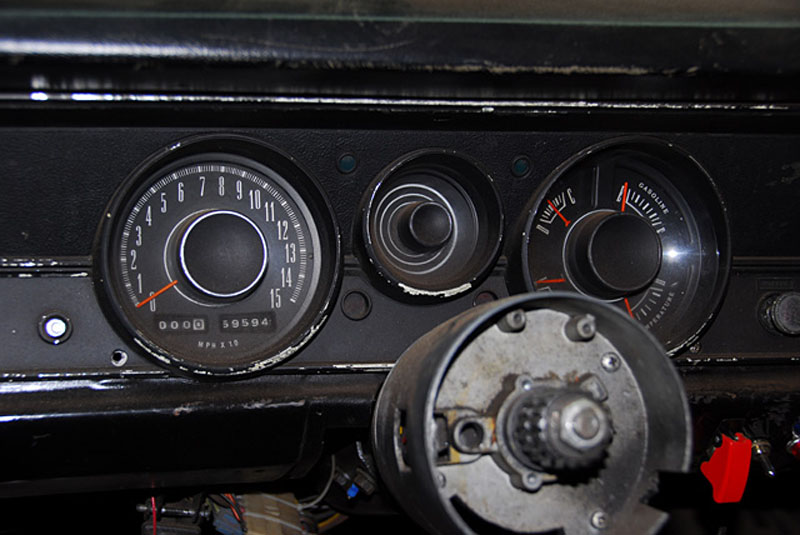
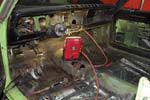
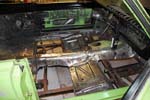
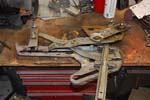
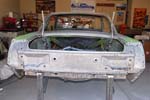
Rally Dash in rough shape, but the
gauges look good.
|
|
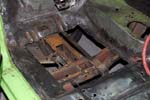
Beginning to get rid of the surface rust and determine what
needs replacing |
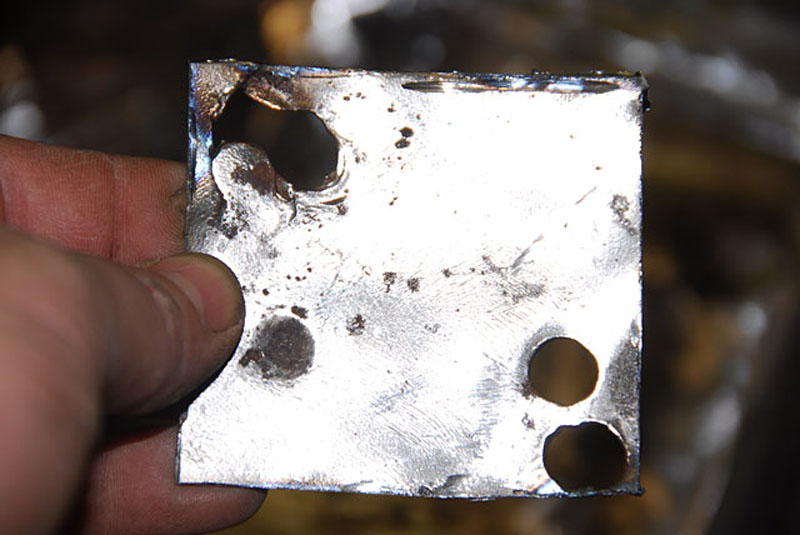
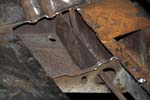
Looks really good and solid, just a few spots with small
holes. |

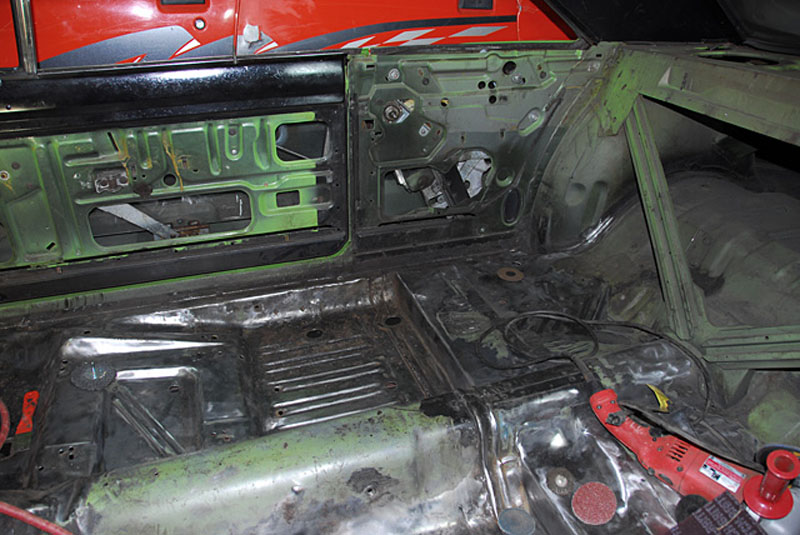
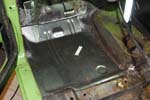
Looks good back here too |
|
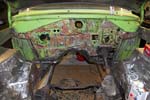
Pulled a fender to look for rust. Looks good! |
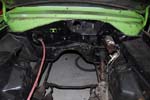
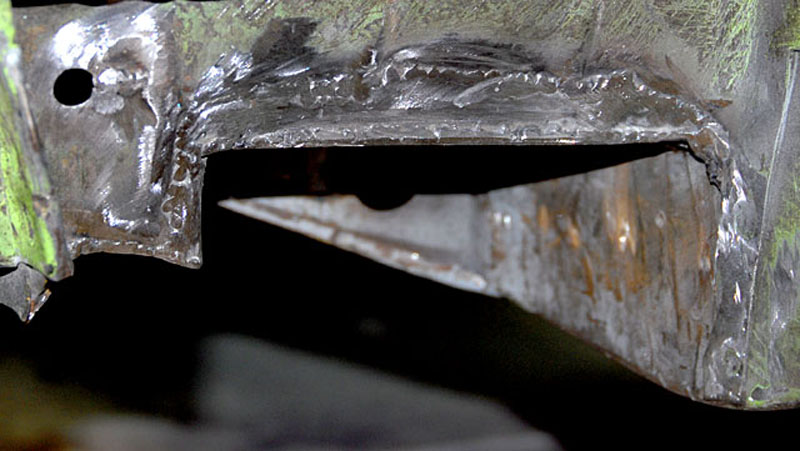
Engine compartment is going to need some work. Inner
fenders were cut for header clearance. |
Drivers side floor pan cut for removal. Just a few pinholes,
in the center. I decided to leave as much good metal as possible. |
|

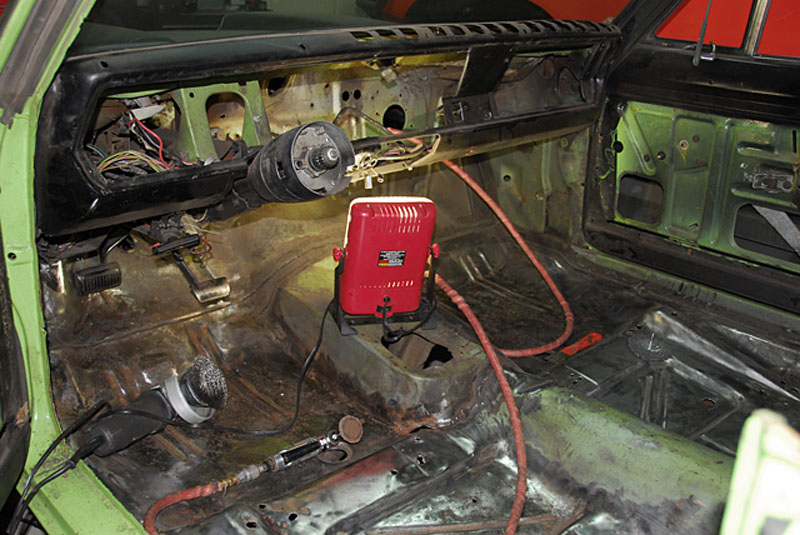
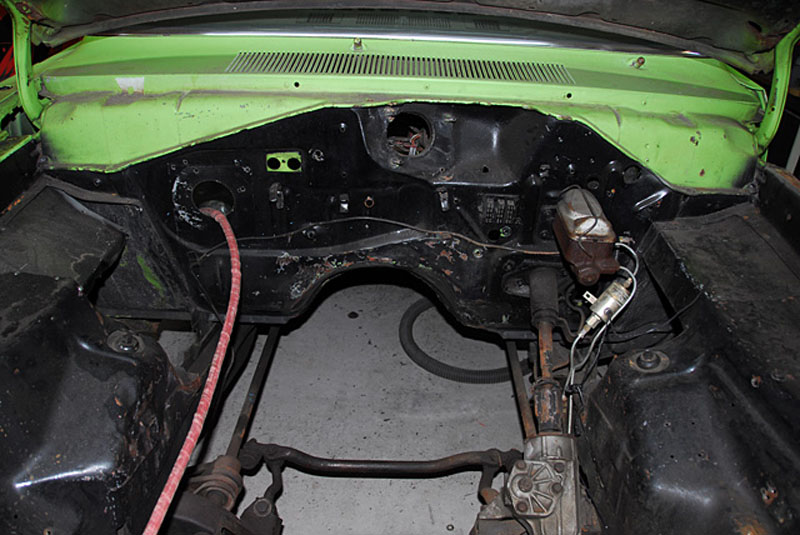
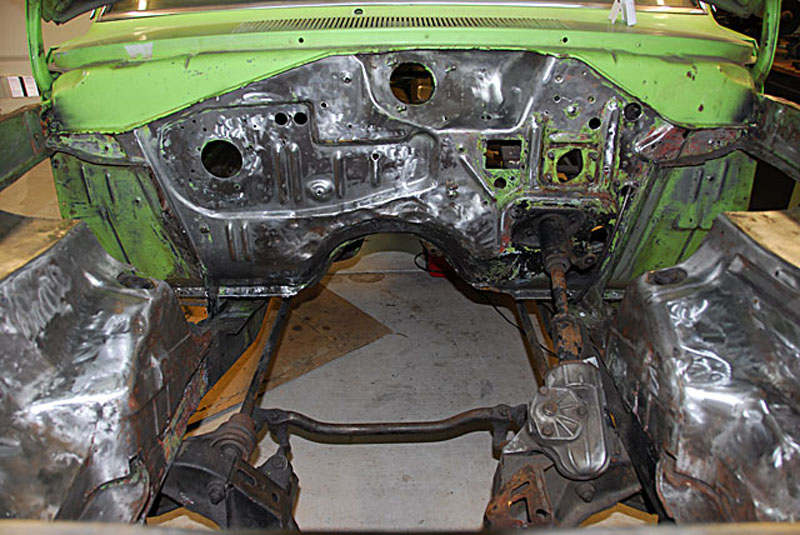
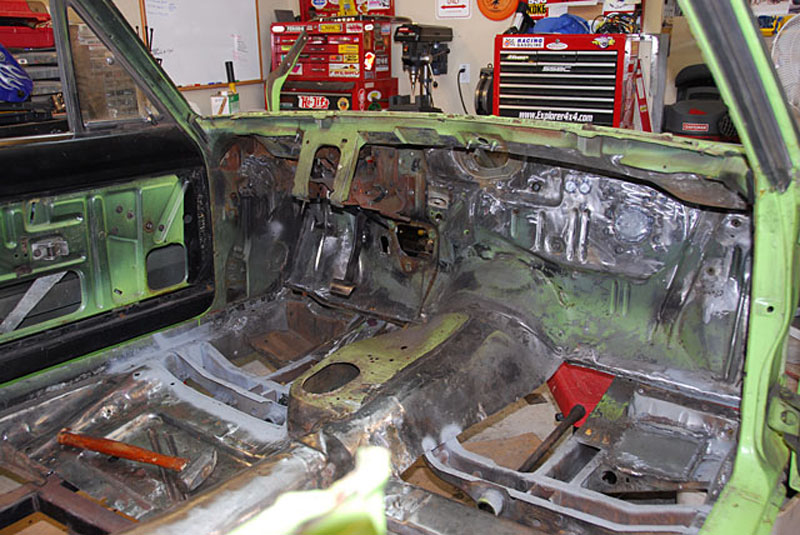
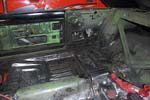
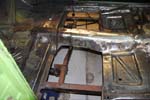
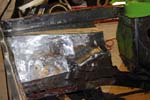
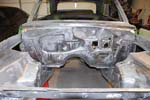
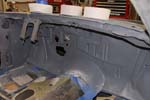
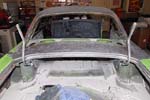
Cleaned up behind dash |
Peeling back floor pan. The spotwelds were easy to find on
the clean metal, but were impossible to see in the rusted areas. I drilled
all the welds I could see and used an impact chisel on the rest. |
Pheww... After about 2 hours it's finally out. This is the
first time I have done this. I'm sure the pros work much faster. |
|
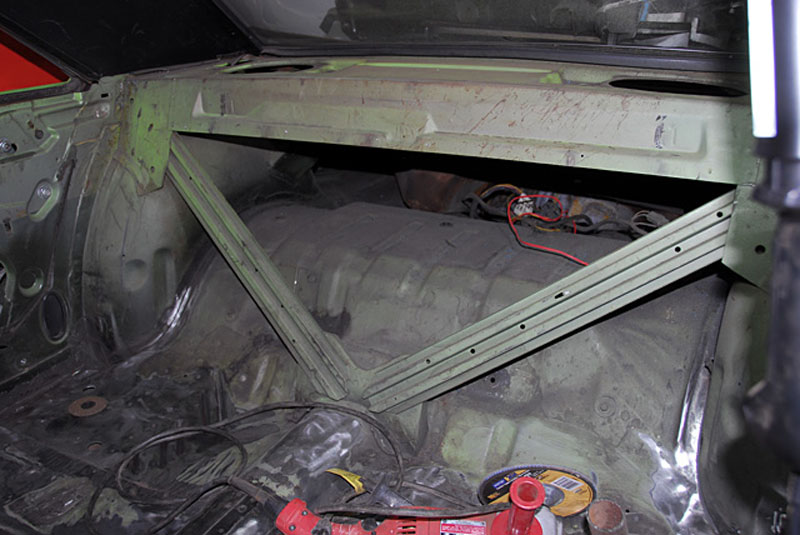
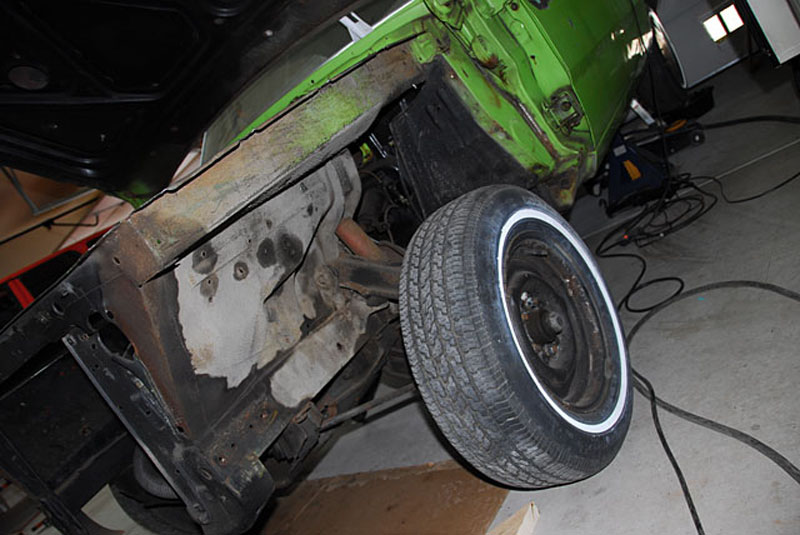
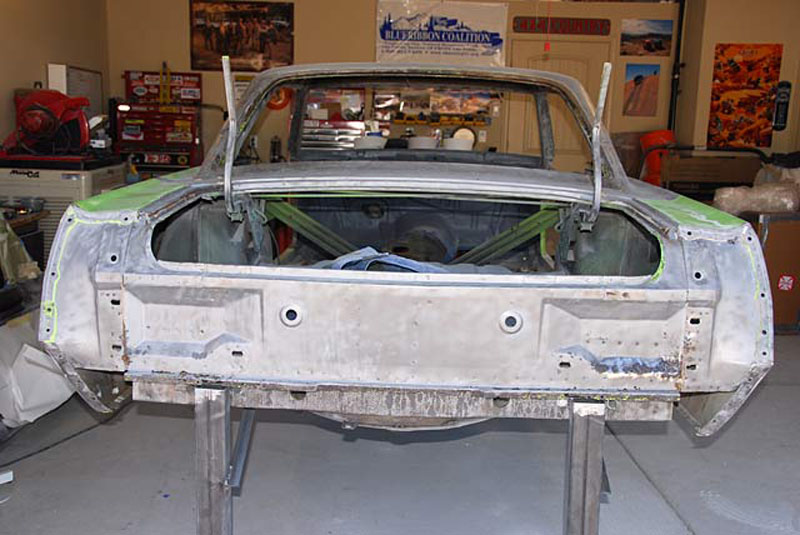
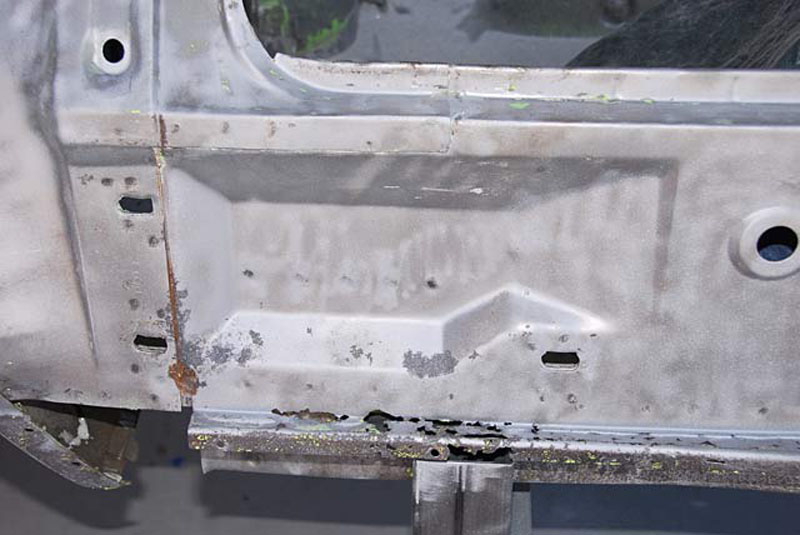
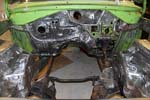
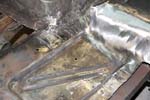
Very little rust in the unibody frame |
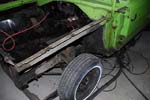
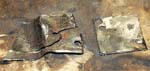
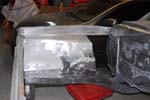
Wheel well before scrapping |
Wheel well after scrapping |
|
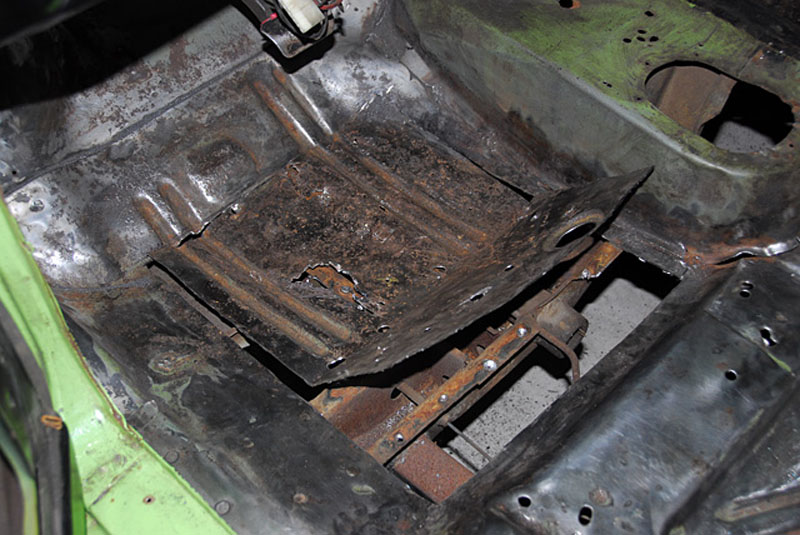
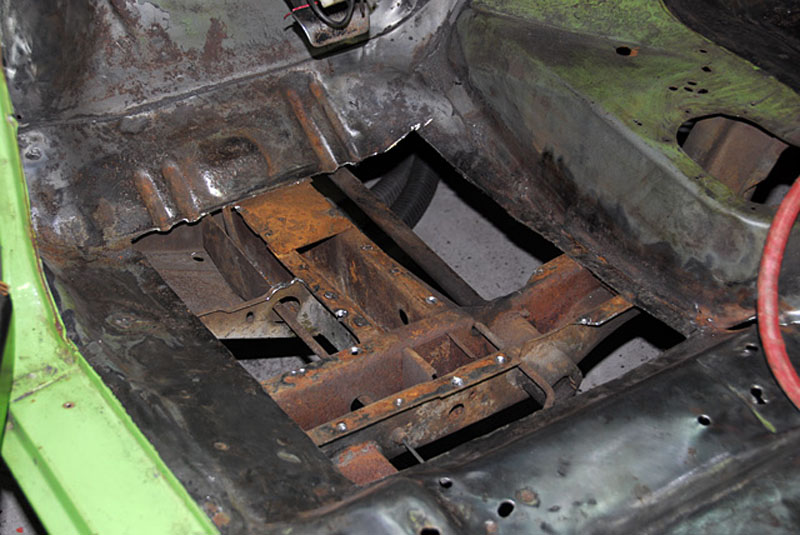
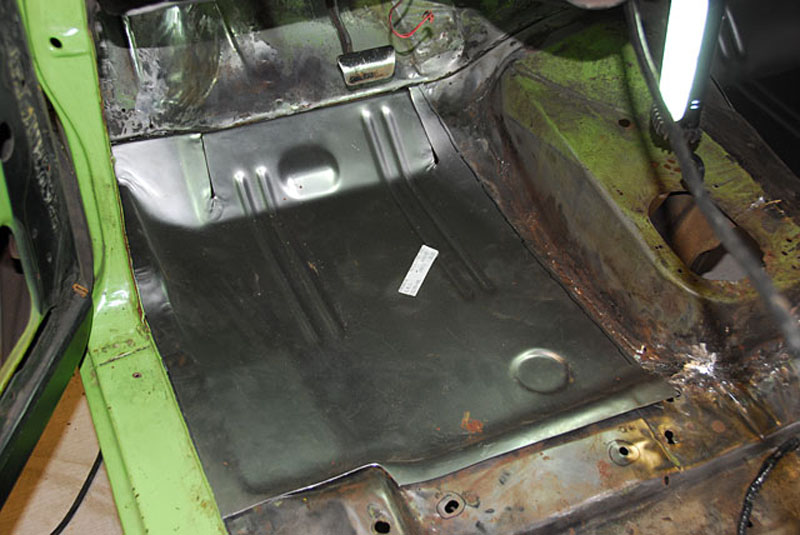
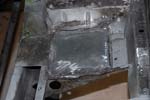
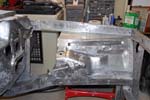
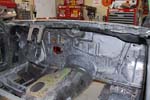
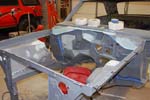
Test fit of floor pan |
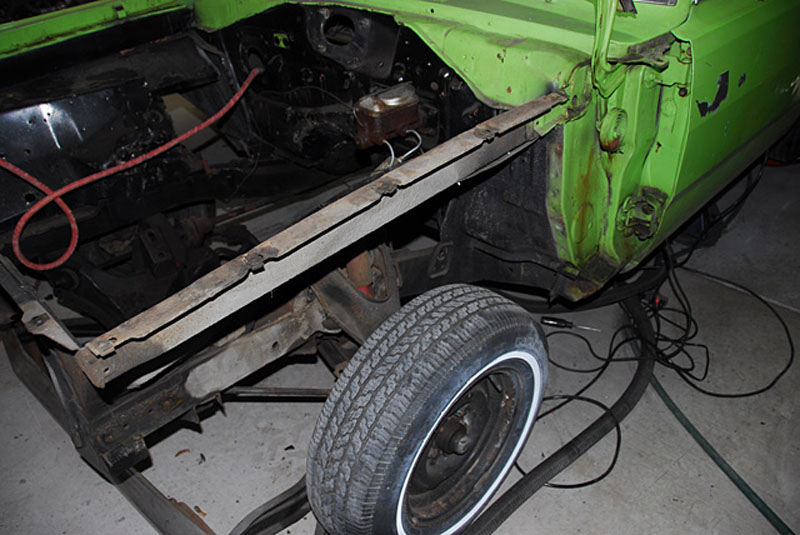
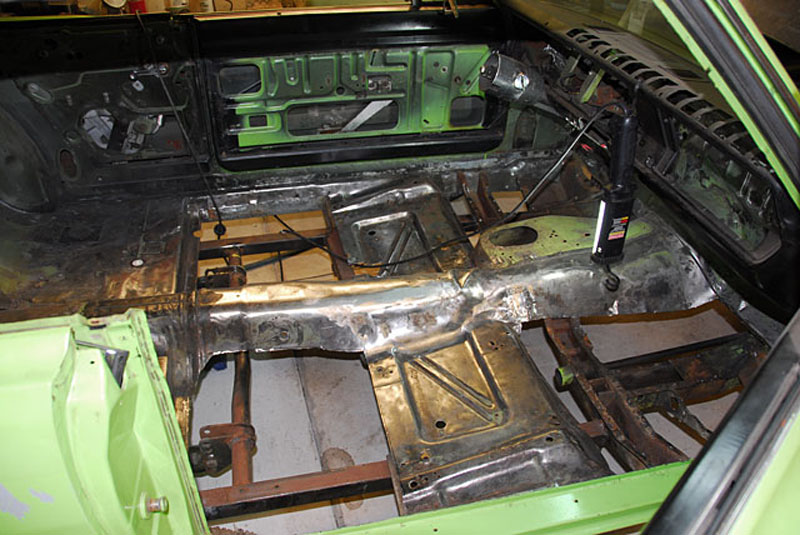
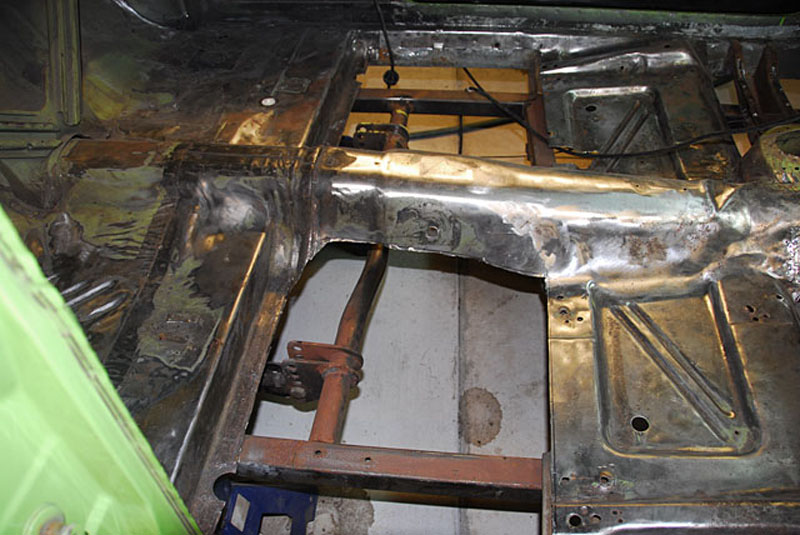
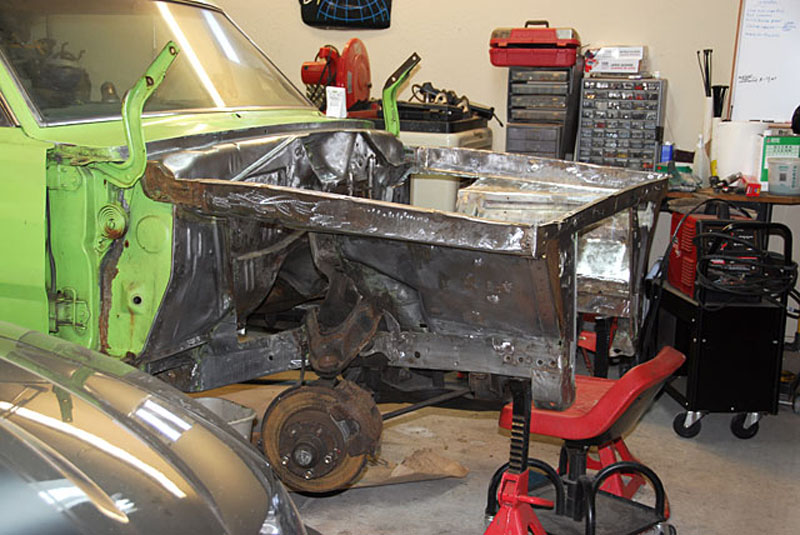
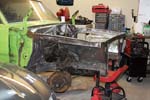
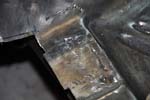
All four floor pans removed.
Subframe connectors and ladder
bar mounts visible. |
Rear floor pans removed |
|
August 7, 2007 |
I used paint stripper on the
firewall and inner fenders. It
cut through the black spray
paint like butter, but required more get to bare metal. |
Getting closer, much of the
firewall is down to bare metal. |
|
It took about 6 hours to go from
this to what you see in the photo on the left. |
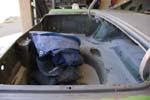
Over the past 37 years there must have been three sets of
seats in the car. |
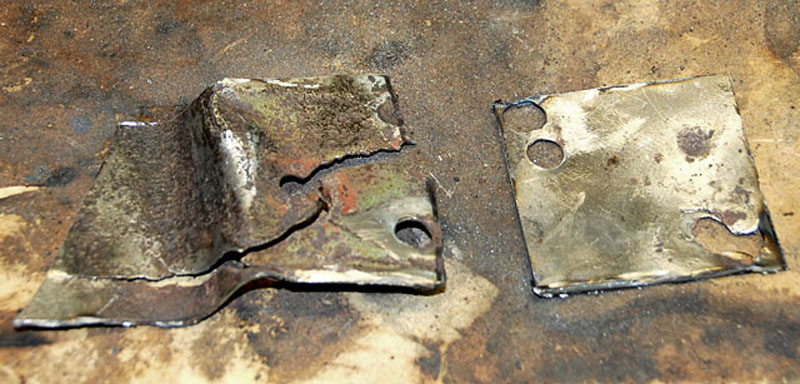
Some of the holes were torn.
The only answer was to replace
the holey metal. |
|
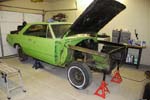
September, 10 2007
Most of the last month was spent
stripping the front clip. I think I should
have sprung for media blasting.
|
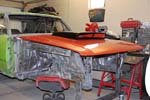
Getting closer to laying down
some epoxy primer.
|
Window Tracks and regulator |
|
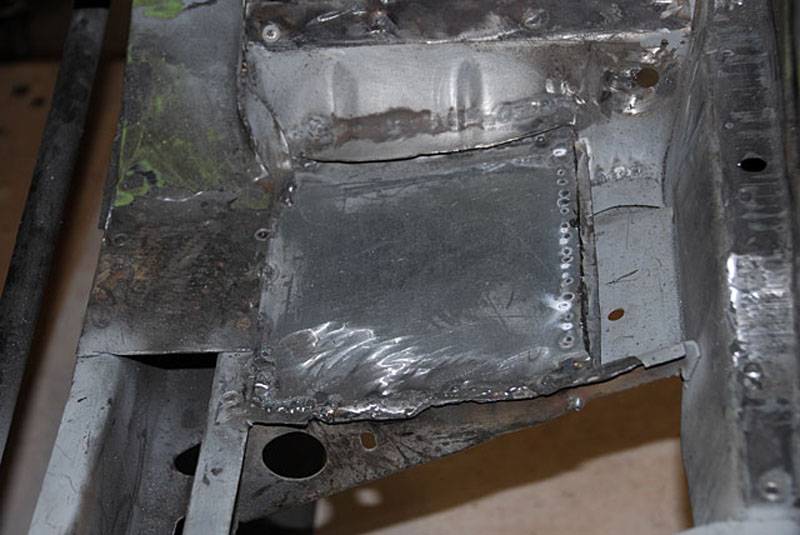
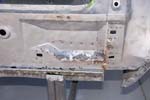
Boxed in section of subfloor.
The area had been cut out for
collector clearance with the
fenderwell headers. |

Underside of the repaired
section. |
 |
|
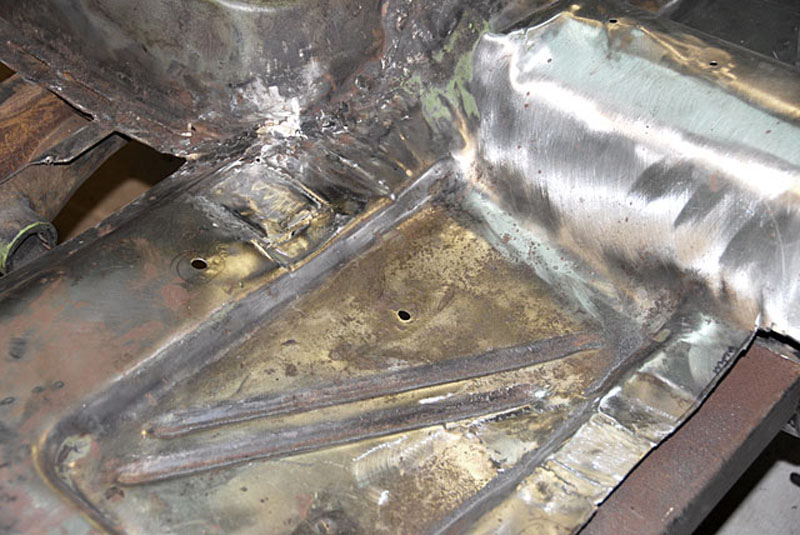
After repairs. |
One patch on the tunnel
and one on the floor. |
This inner fender looked like Swiss
cheese before I filled in all the holes. |
|
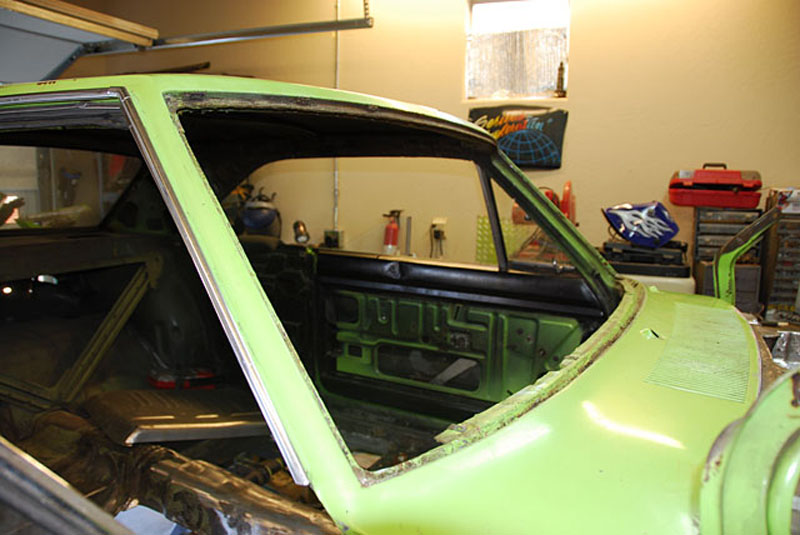
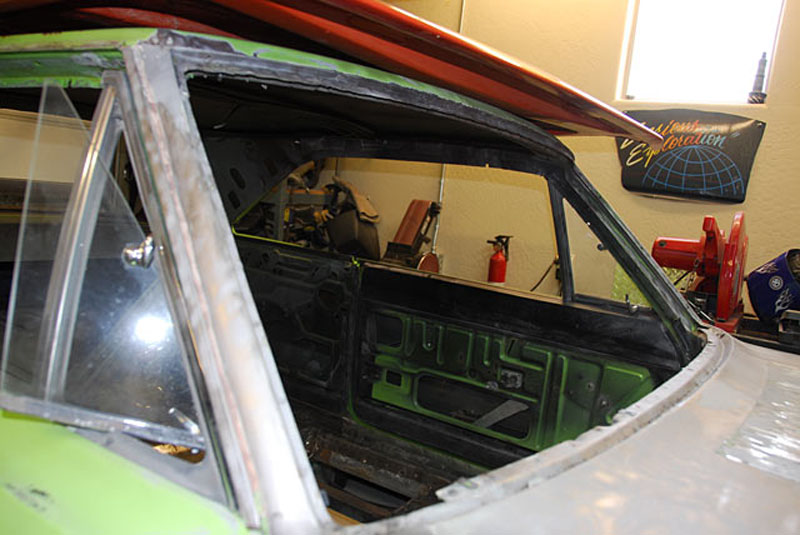
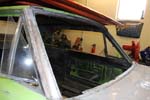
My neighbor had a glass shop come out to replace the windshield on his
truck. I stopped by asked the installer if he would remove the glass from
the Dart for me. He did the job for $25 and most importantly didn't mess
up the trim. |
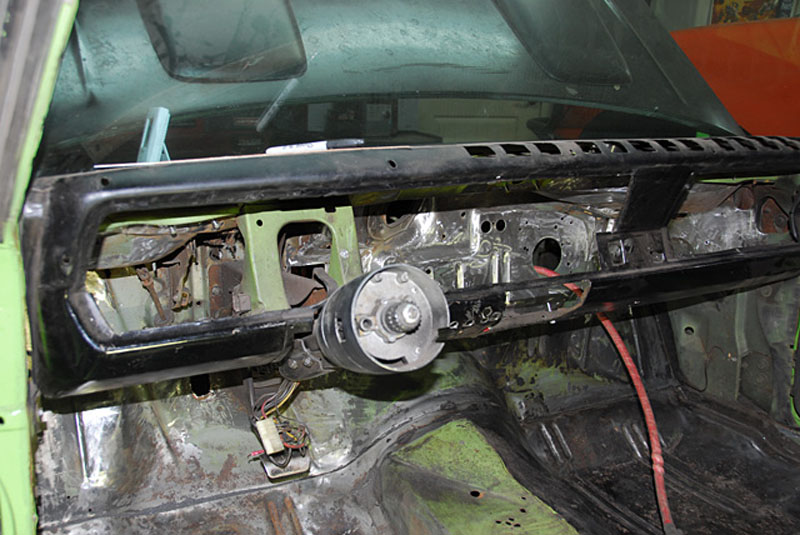
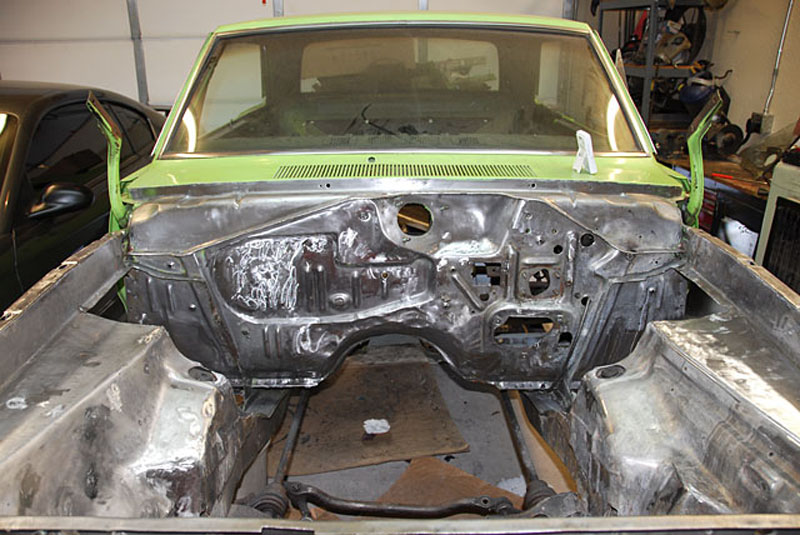
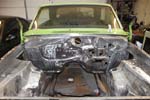
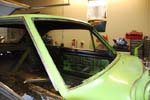
With the windshield removed
I was able to pull the dash to gain
better access to the firewall. |
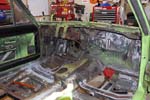
Pheww! Finally clean and ready for epoxy primer. |
|
 |
 |
 |
|
 |
 |
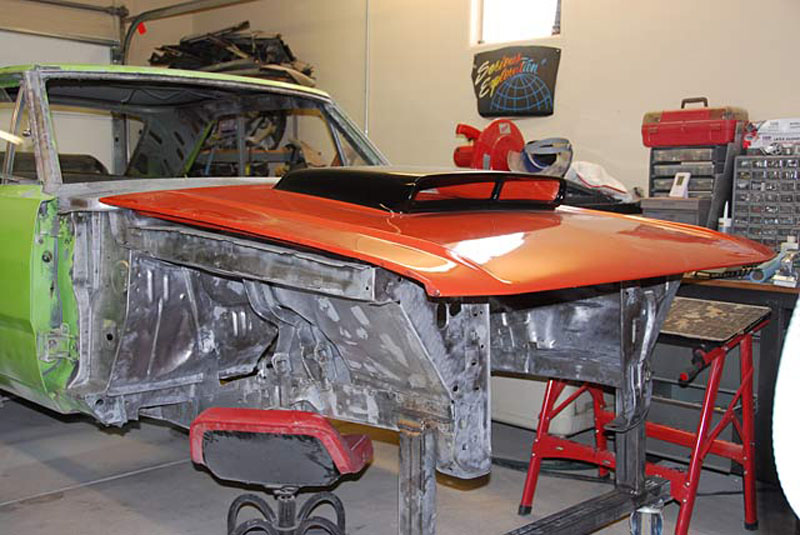
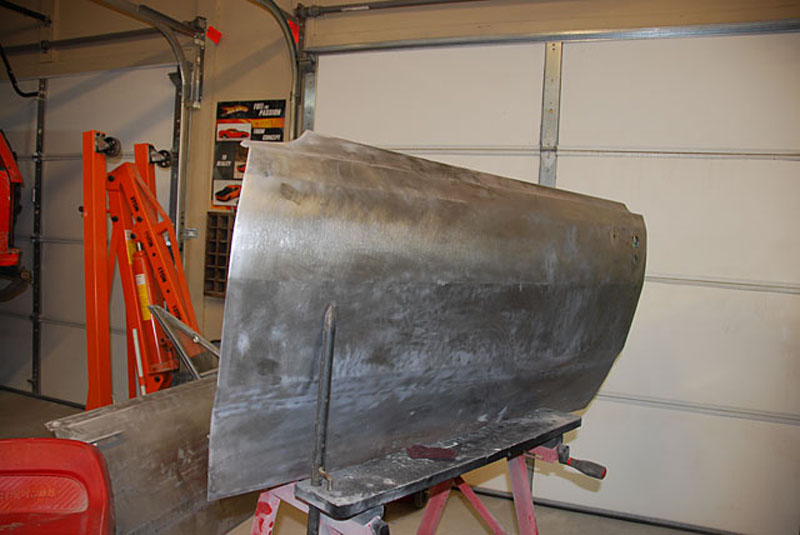
I found this fiberglass six-pack hood for $100 on Craig's
list. Exactly what I was looking for, for an unbelievable price! |
|
November 23, 2007
2 coats of epoxy primer is on and first coat of Evercoat
Rage Extreme has been applied. |
 |
 |
|
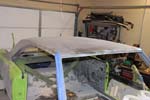
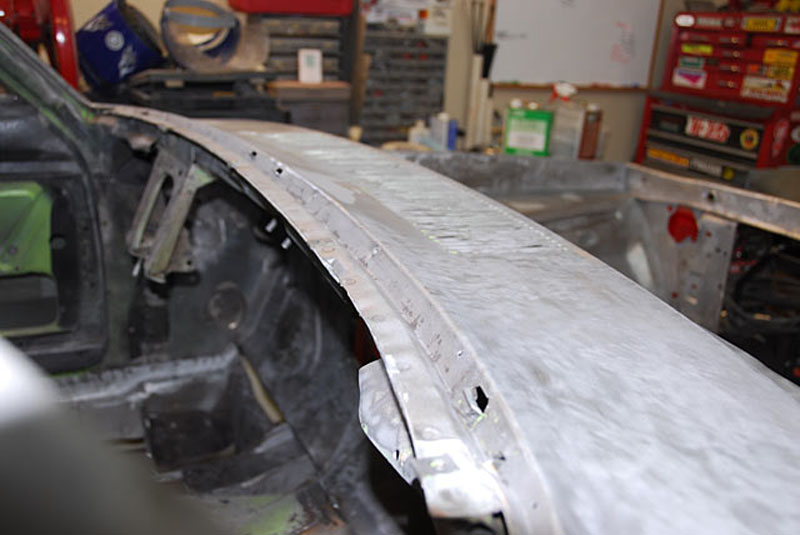
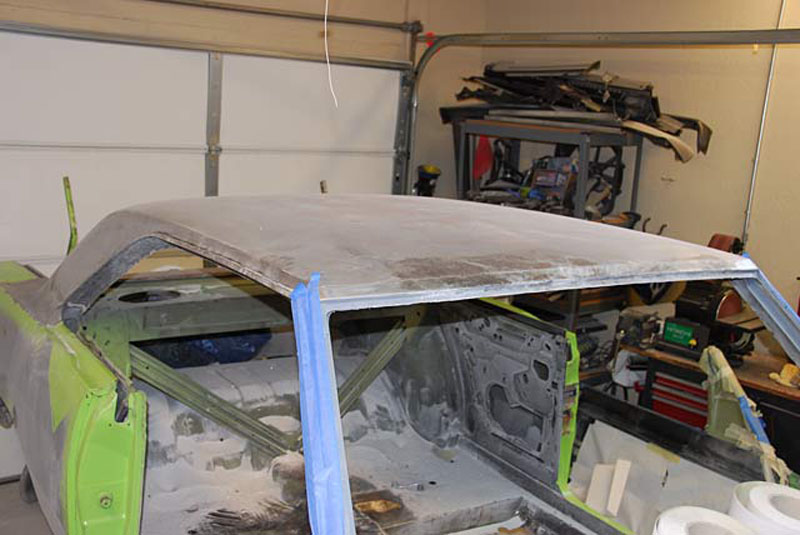
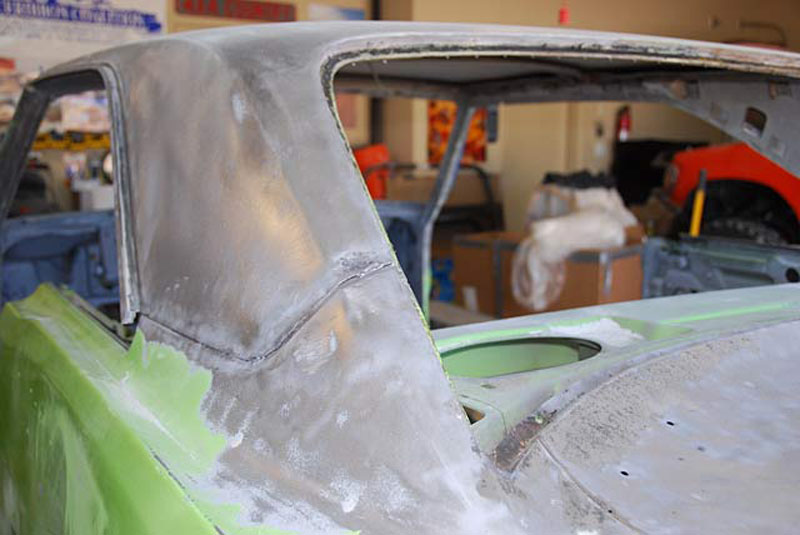
Roof has been stripped. Dark area is surface rust from
original vinyl top. |

Cleaned out the junction between the roof and quarter panel
with sand blaster. |
Epoxy primed firewall |
|
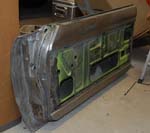
Blasted rear filler panel. |
Time to replace the rust with steel.
Rust isn't too bad for an Northeast Coast car. |
 |
|
 |
 |
Location of "hidden VIN"
The stamp is VERY light. Sandblasting brought it right out. Scraping or
wire wheeling would most likely have destroyed it. |
|
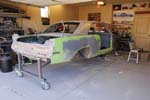
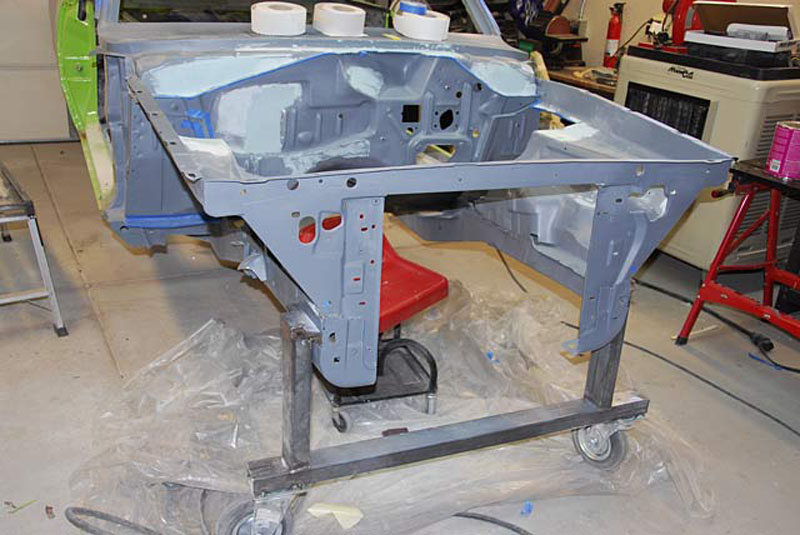
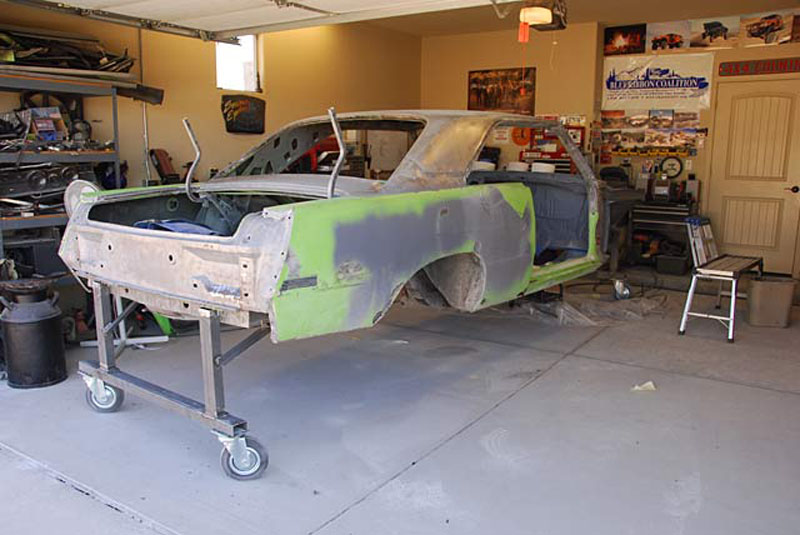
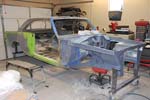
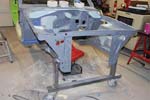
I built a jig to roll the car around on. It makes things
much easier! |
 |
 |