|
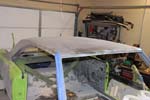
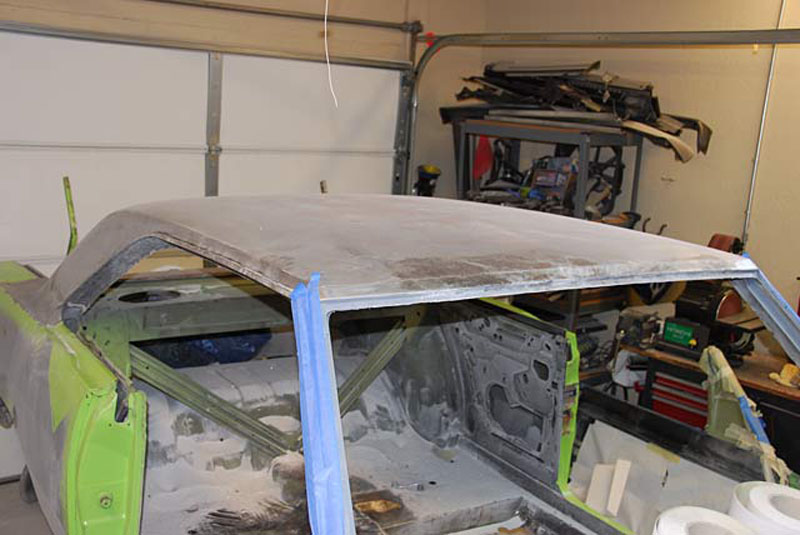
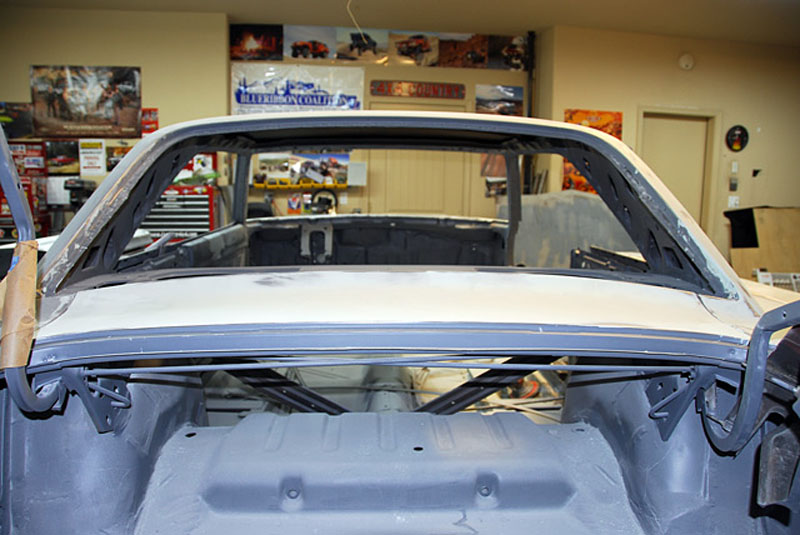
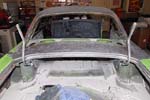
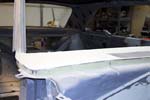
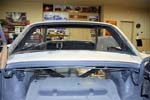
Roof has been stripped.
|

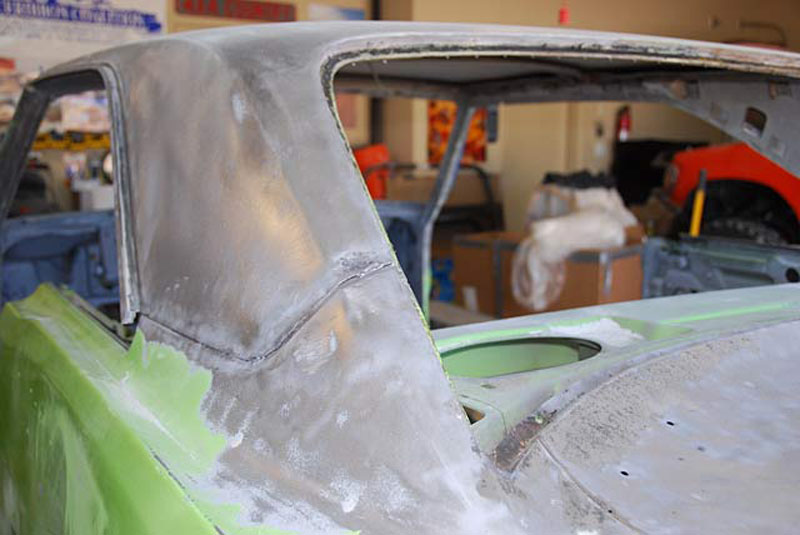
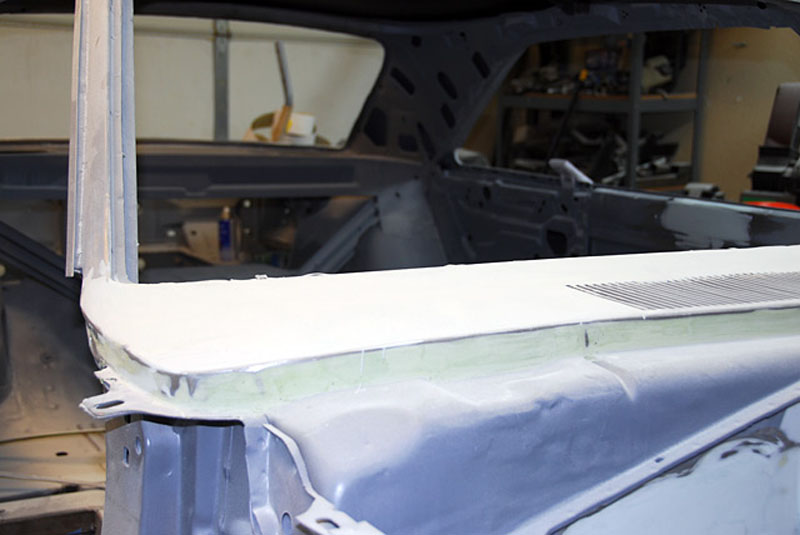
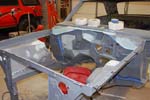
Cleaned out the junction between
the roof and quarter panel with sand blaster.
|
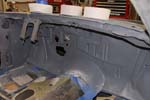
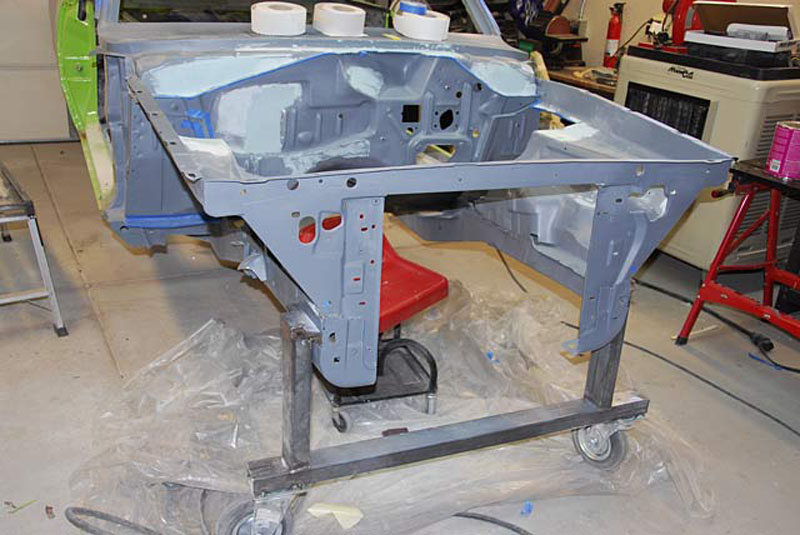
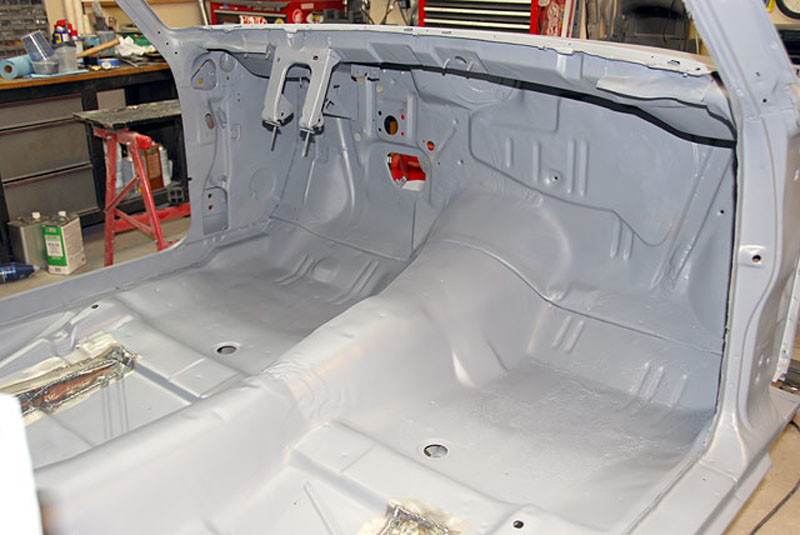
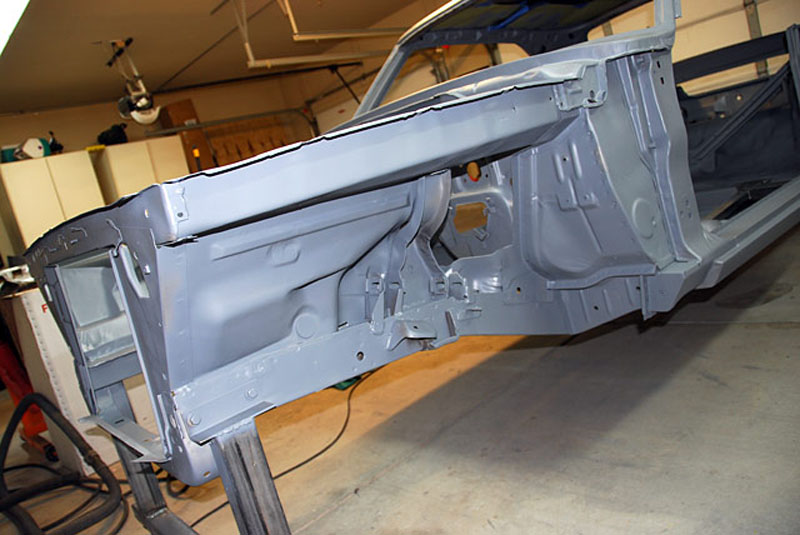
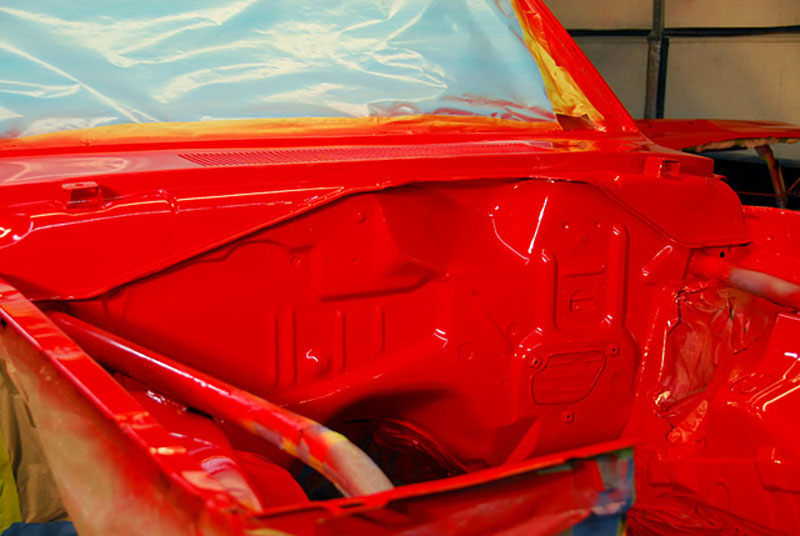
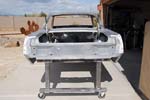
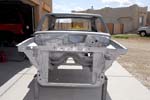
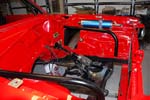
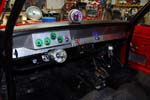
Epoxy primed firewall
|
|
|
|

|
|
|
Location of "hidden VIN"
The stamp is VERY light. Sandblasting brought it right out. Scraping or
wire wheeling would most likely have destroyed it.
|
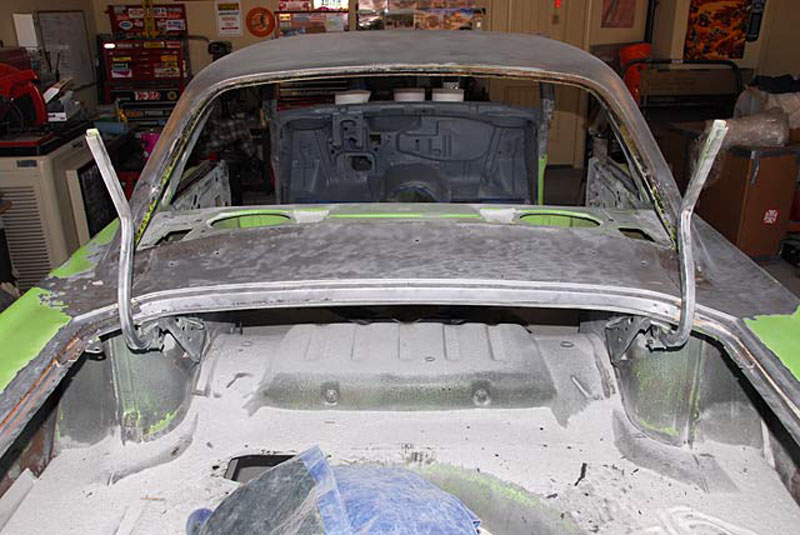
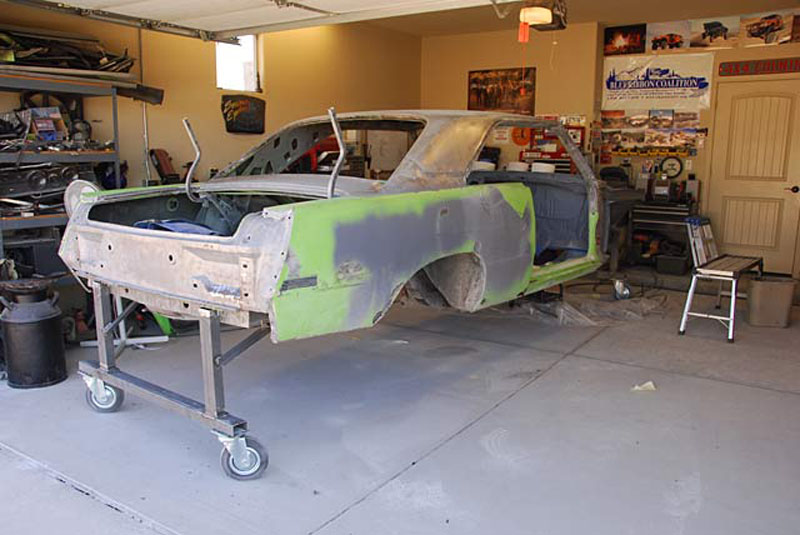
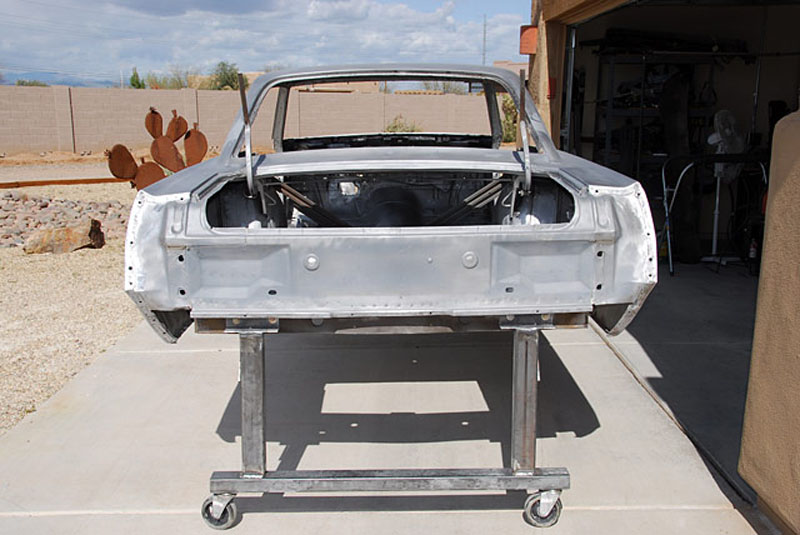
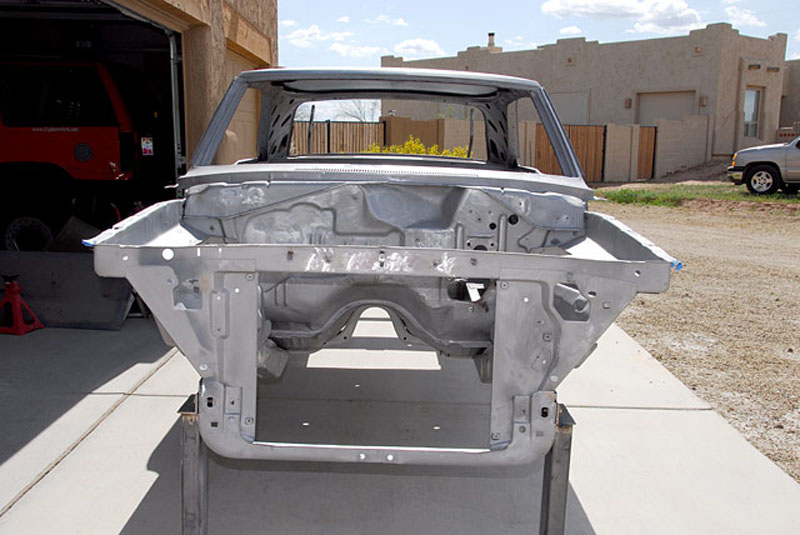
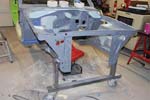
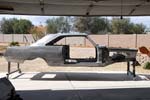
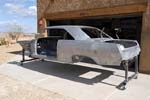
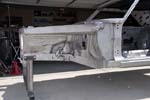
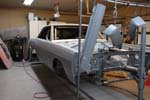
I built a jig to roll the car
around on. It makes things much easier!
|
|
|
|
|
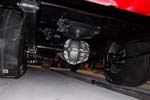
| While I was making good progress with the '70 Dart, there was
still a LOT to do. As I stripped the car down to bare metal I found
lot's of hidden problems. Worst of all, the car needed a new rear
suspension. What was in there was a hack job. The 4 link was one of the
reasons I had bought this car, I didn't expect to have to replace it
from scratch. A leaf spring relocation kit had also been installed at
one time. It was also installed poorly and couldn't be used as is. I
began to feel that I wouldn't make my two year deadline with this
car, but I kept plugging away. Until... |
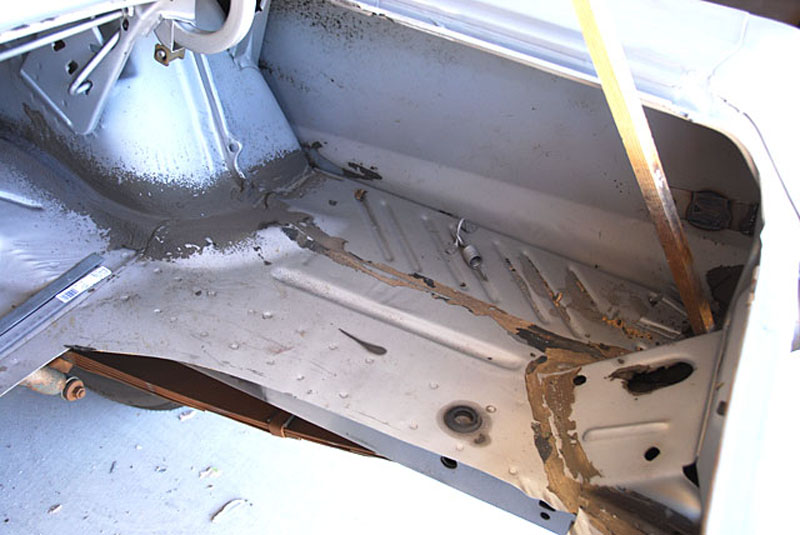
...While picking up a 440 block that I found on Craig's list,
I found a 1973 Valiant in the guys garage. The car had been entirely
media blasted, inside, out, and underneath. The car had practically no
rust. Media blasting had revealed a section of small pinholes in one of
the floor pans. Except for the 2x3 frame connectors which were
installed the car was unmolested and completely stock. Best of all the
price. Only $500, which included a $500 Art Morrison roll cage kit, 4
new tires, and aluminum wheels. |
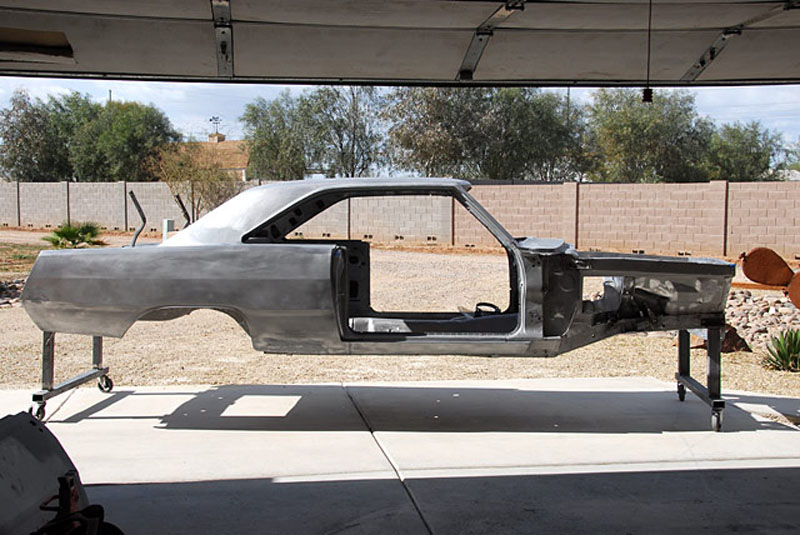
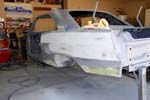
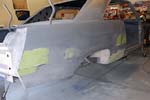
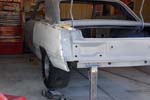
I have spent the last few weeks getting the "new" car to the
point that I had taken the first car. That is, I filled in the firewall
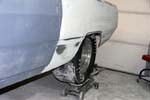
holes, windshield wiper holes, cut the fenderwells for the Hooker Super
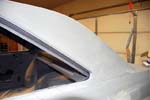
Comp headers, and patched the floor pan. I also filled in the seams
between the quarters and sail panel and at the cowl and A-pillar as
well. The car is just about ready to be entirely primed. I just
need to give it a good cleaning before it gets sprayed.
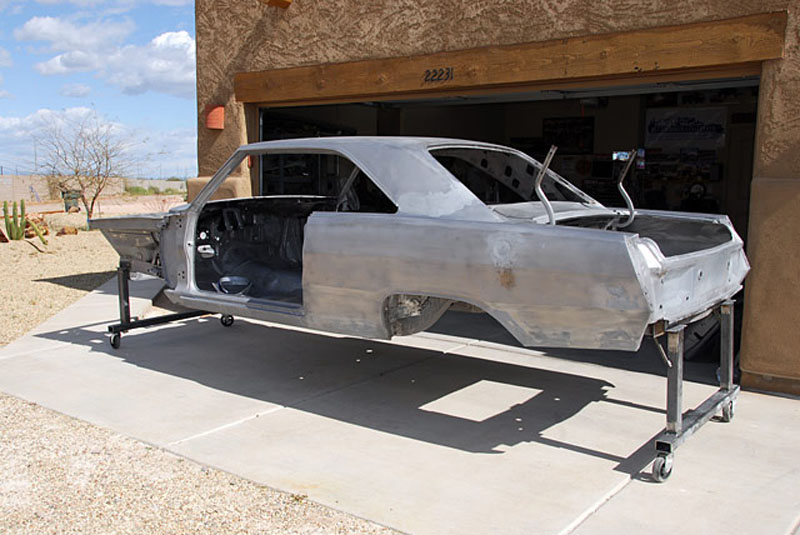
As for the '70. I covered the car in primer put a car cover on it, and
wheeled it to the backyard on it's jig.
I hope to finish the
body once I'm done with this project.
|
 |
 |
 |
 |
 |
 |
 |
 |
 |
 |
 |
 |
 |
 |
 |
 |
 |
 |
 |
 |
 |
 |
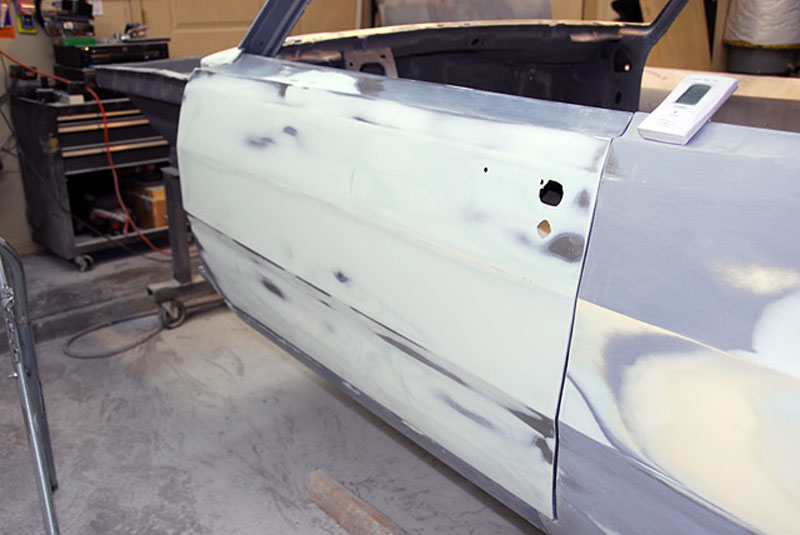
Sorry for the long delay between updates. I have been laying down body
filler and blocking out every panel. That's a ton of work for one
person in his spare time. |
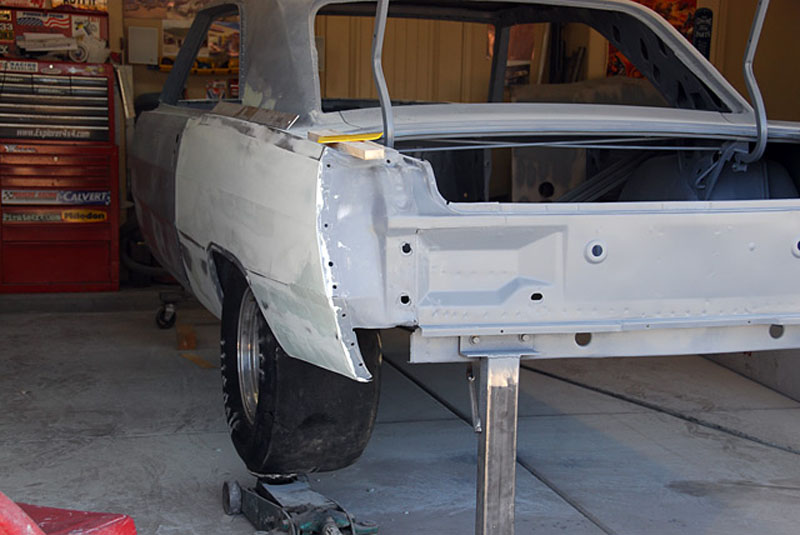
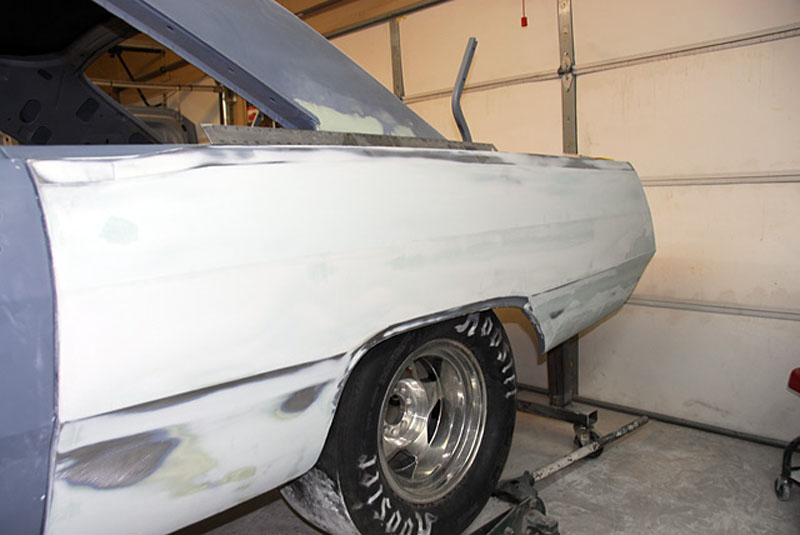
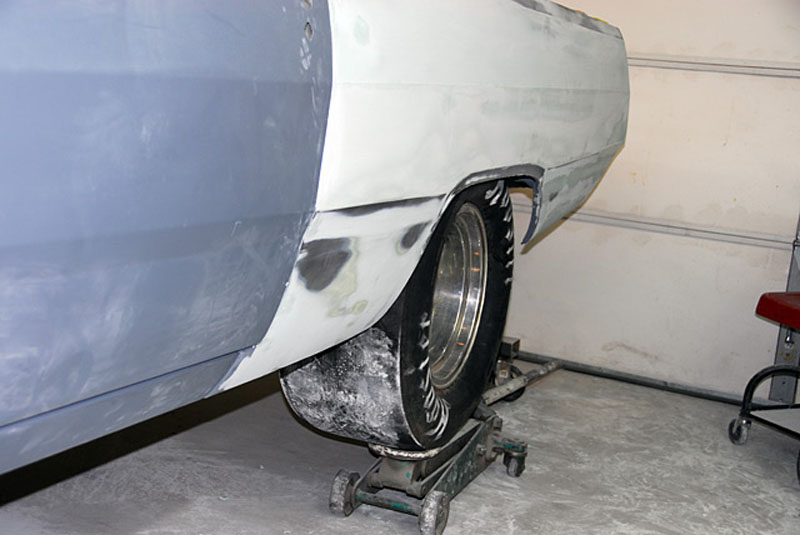
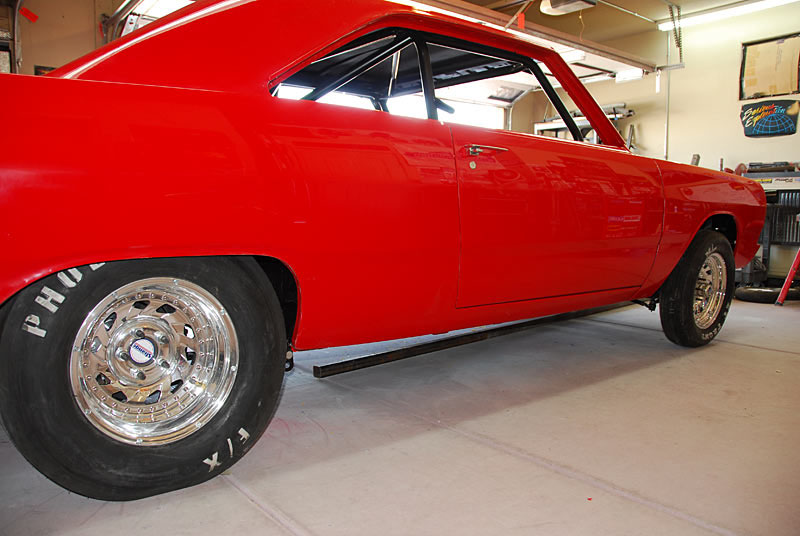
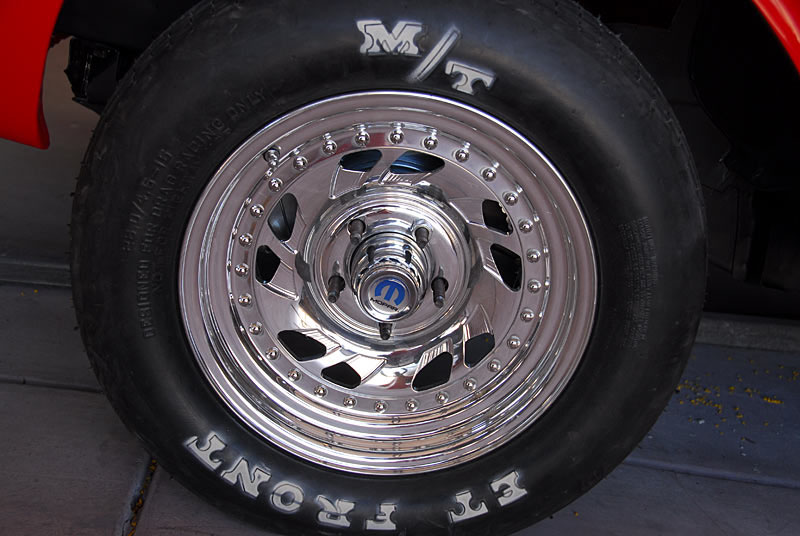
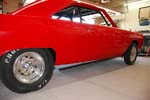
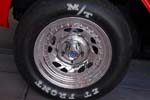
I picked up a set of used 29x11-15 slicks and wheels from an ad on
Craig's List. |
 |
Looks like they will fit fine in the mini-tubs. |
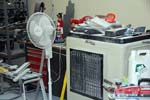
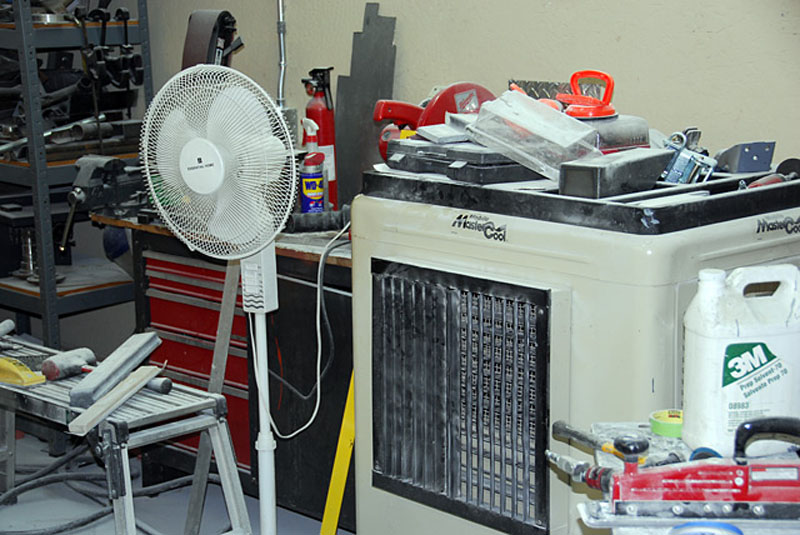
Swamp cooler lets me work for about 6 hours in the morning, before the
Arizona heat takes over. |
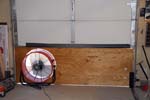
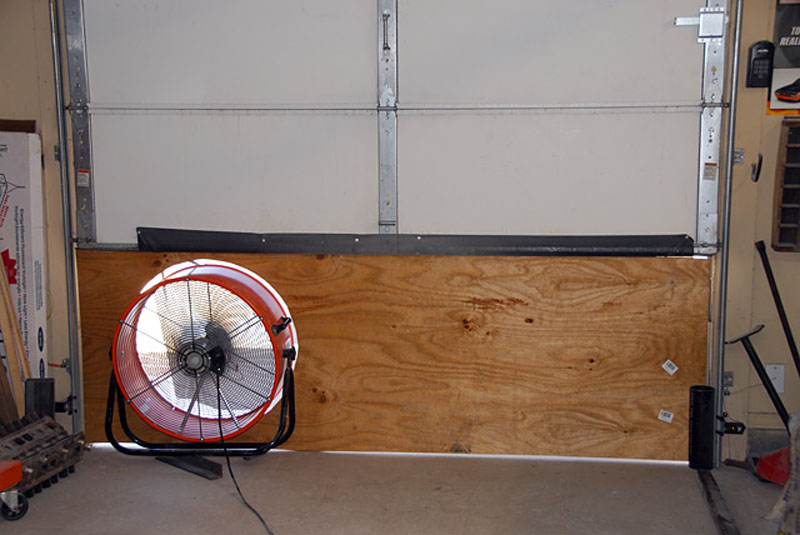
Large exhaust fan gets rid of fumes, dust, and the humidity generated
by the swamp cooler. |
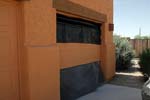
Thankfully no HOA here!
The top black area is 3 plastic garbage bags
still attached to each other from the roll. That keeps hot air from
being sucked back into the garage.
The bottom black area is black "sun screen".
It allows air to flow through and covers the plywood providing a
somewhat nicer appearance. It all comes down every night.
|
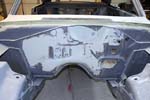
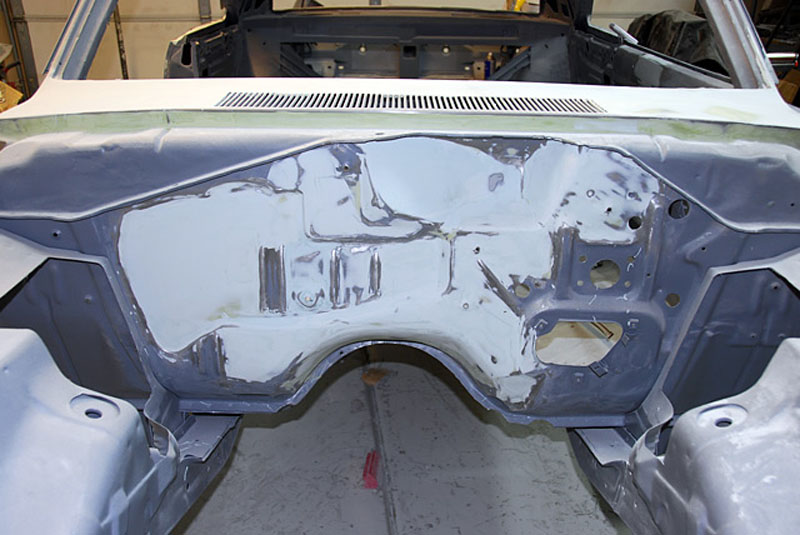
Firewall is coming along... I work on multiple areas at once, so I can
keep mixing, applying, sanding, etc... without running out of places to
work. |
|
Filled windshield wiper holes.
|
 |
 |
 |
 |
 |
 |
 |
This is how it sits on
6/6/2008
Blocking is nearly done for
this stage. Next is to shoot some high build 2k primer and start
blocking it again!
|
|
2k primer is on and sanding has begun
|

|
2k primer prior to sanding 6/18/08
|
|
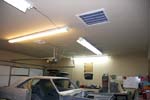
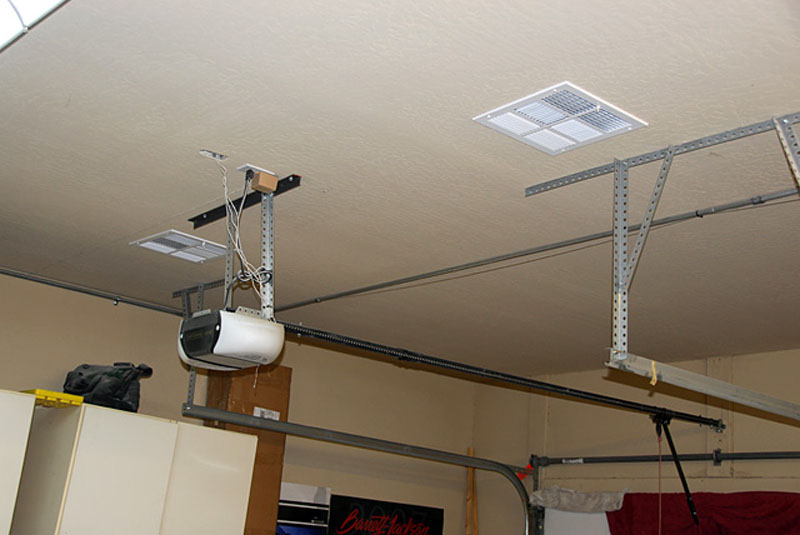
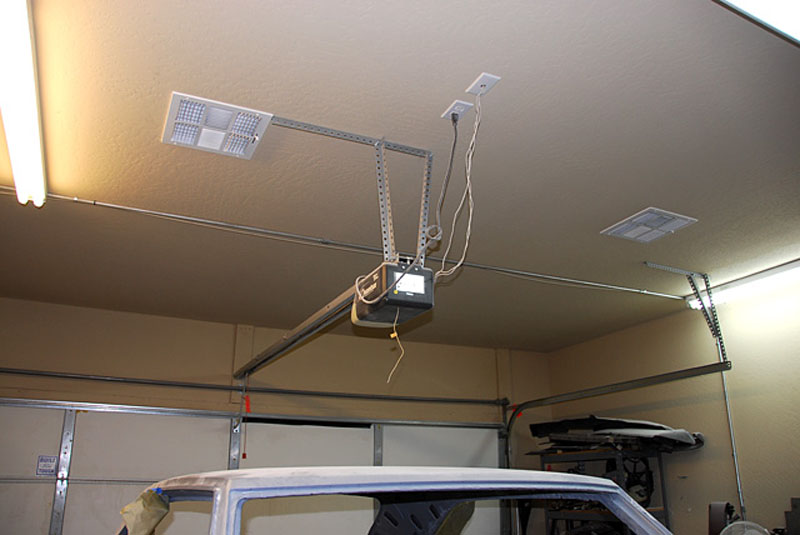
Airconditioning!! Boy will this help!!
|
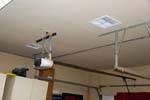
We had a 2.5 ton package unit installed on the garage roof.
|

|
5/3/09
Time to catch up! It's been 11 months since I sprayed the car with 2k
primer. Since then I've got a lot accomplished, but the bodywork still
isn't finished. |
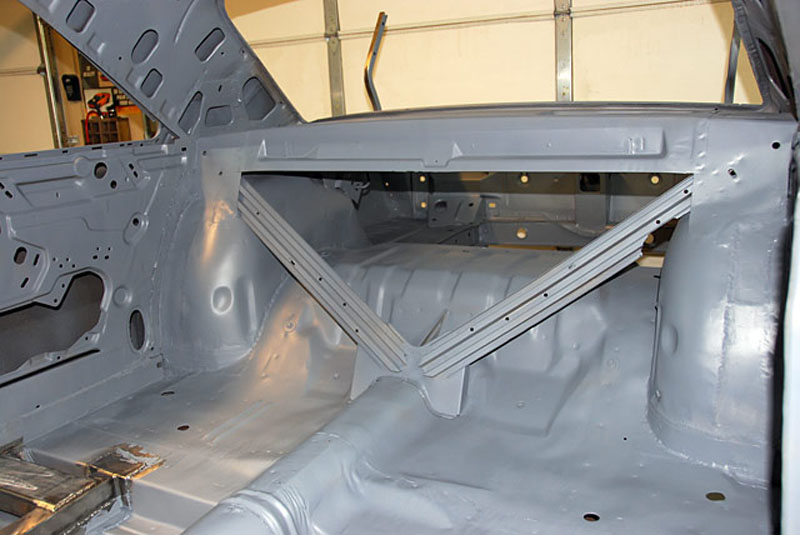
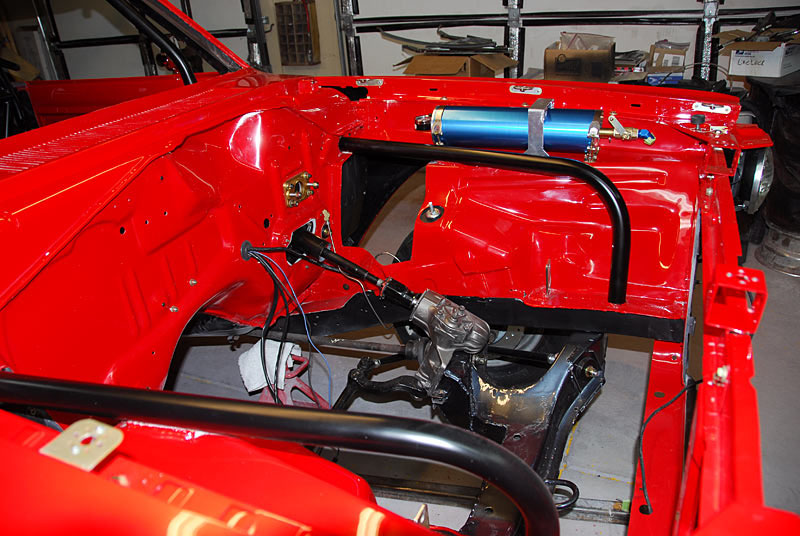
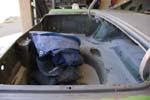
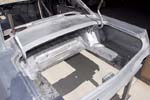
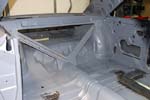
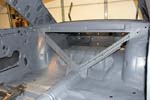
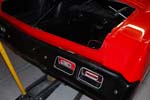
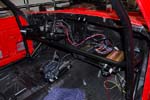
In
the past year I have added the roll cage, subframe connectors, new
trunk floor, fuel cell, window net, and seat mounts.
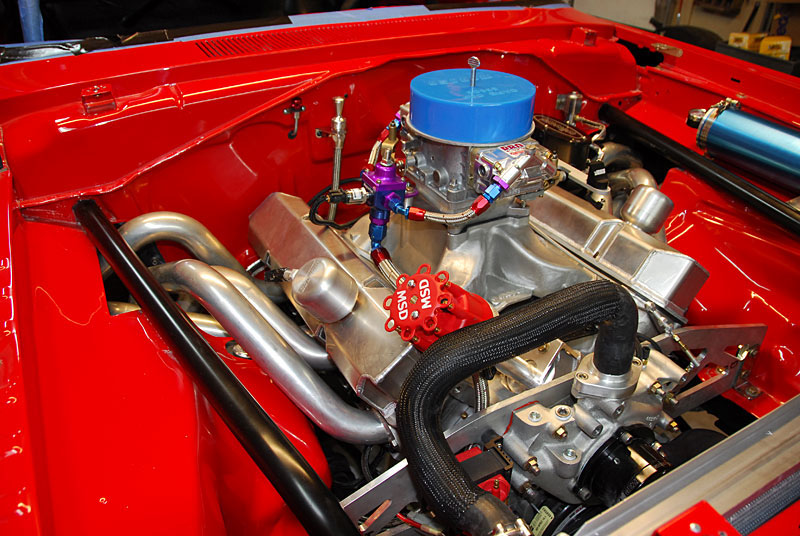
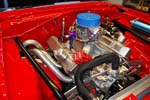
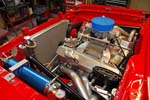
I have accumulated nearly all the parts needed to put the car on the
track and the engine is now at the machine shop being machined and
assembled. |
After I shot the 2k primer on 6/18/08 I found a lot of problem areas
which I needed to go back over. I was sick of bodywork so, that's when
I skipped to the fabrication end of things.
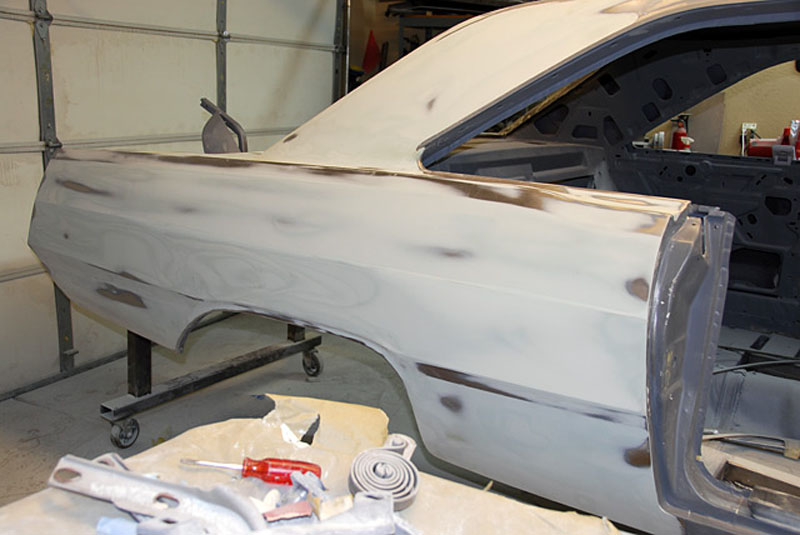
This last coat of primer shows the body looking better than last
time, but again there are a few problem areas which I need to
work out before I block the whole car out again. |
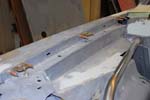
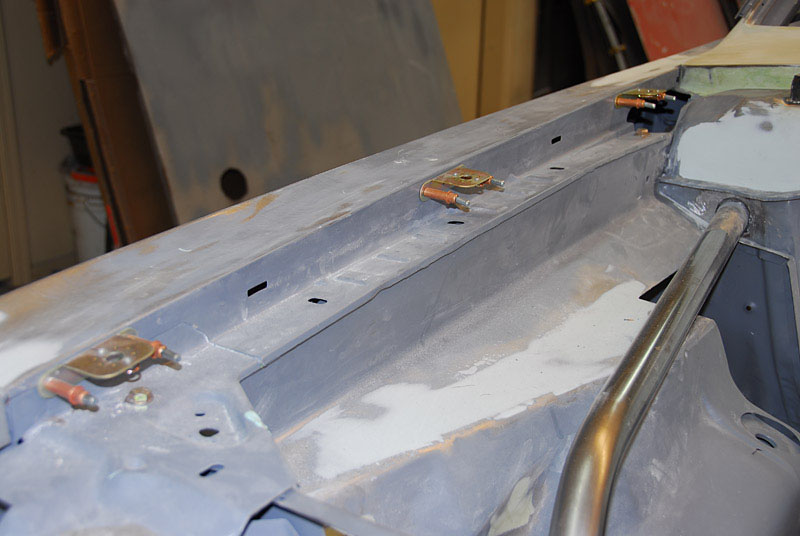
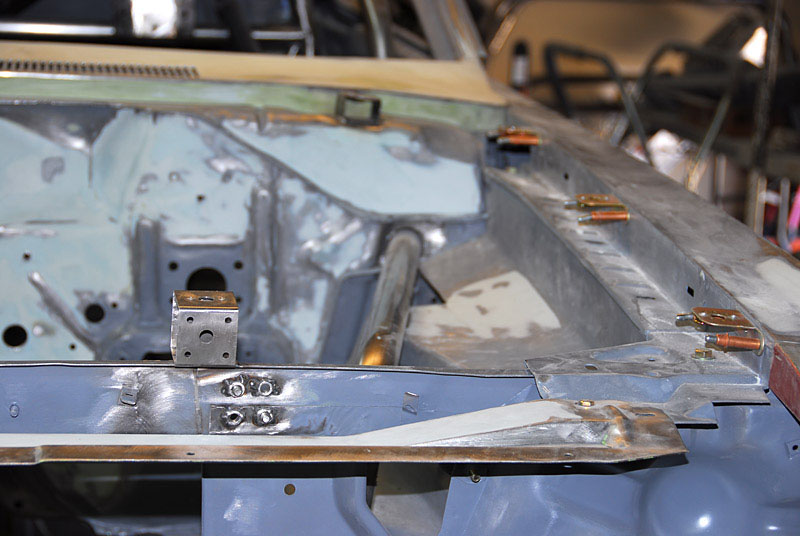
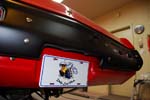
Mounting tabs for Dzus fasteners |
 |
 |
 |

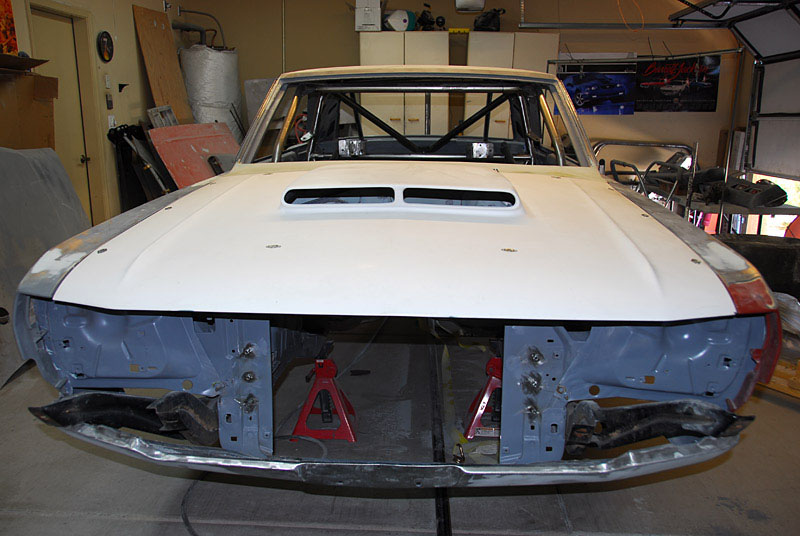
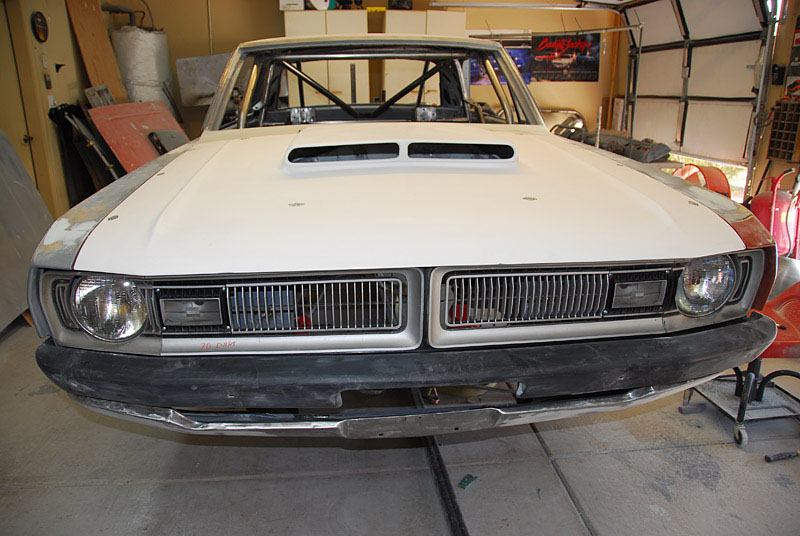
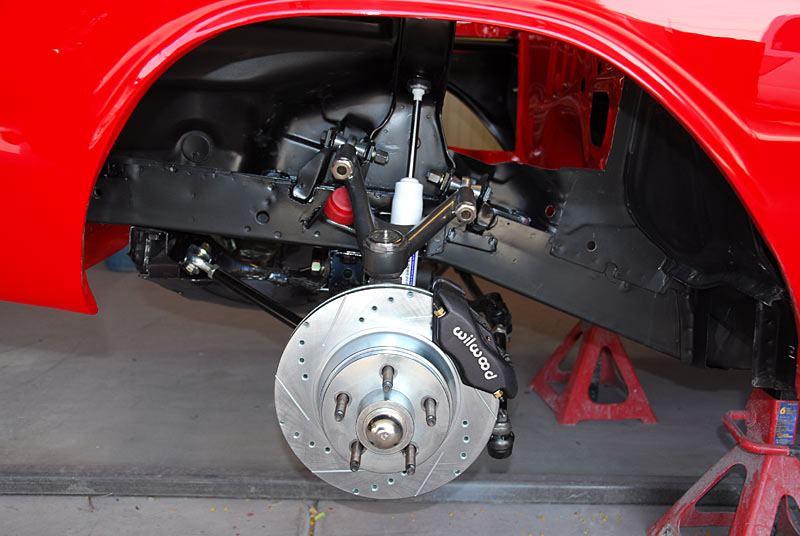
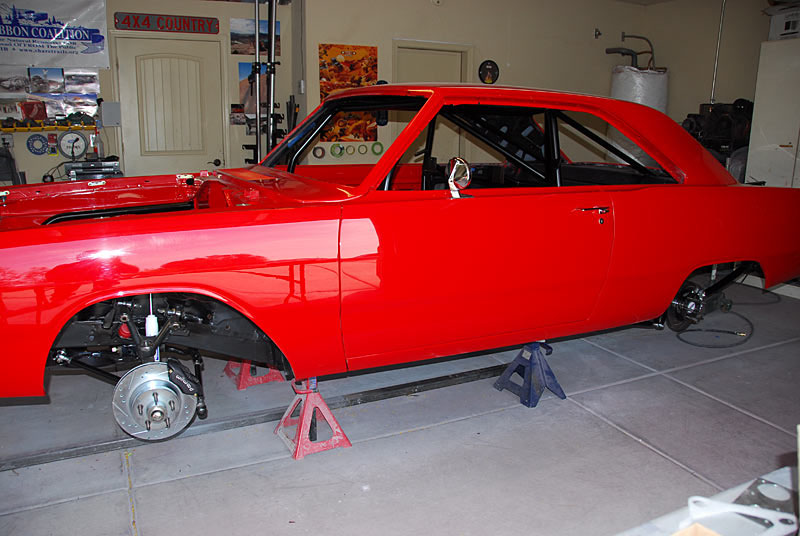
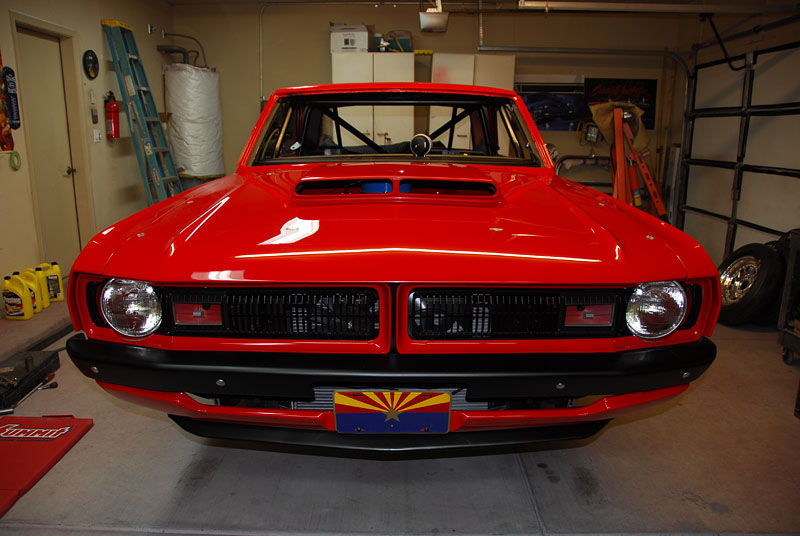
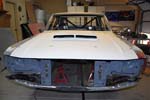
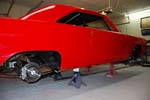
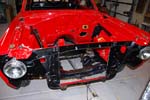
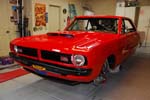
Front end assembled for mock up with a lift off 6 pack hood, fiberglass
bumper and 1970 grill. |
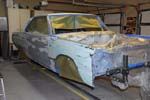
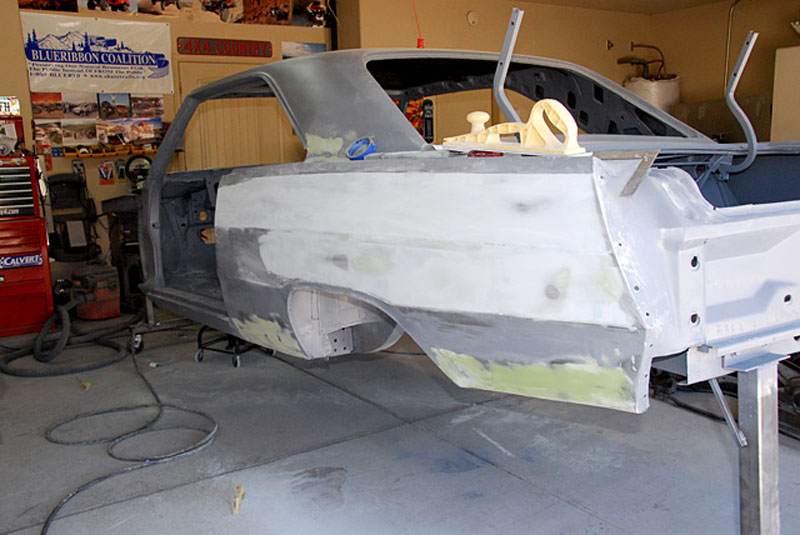
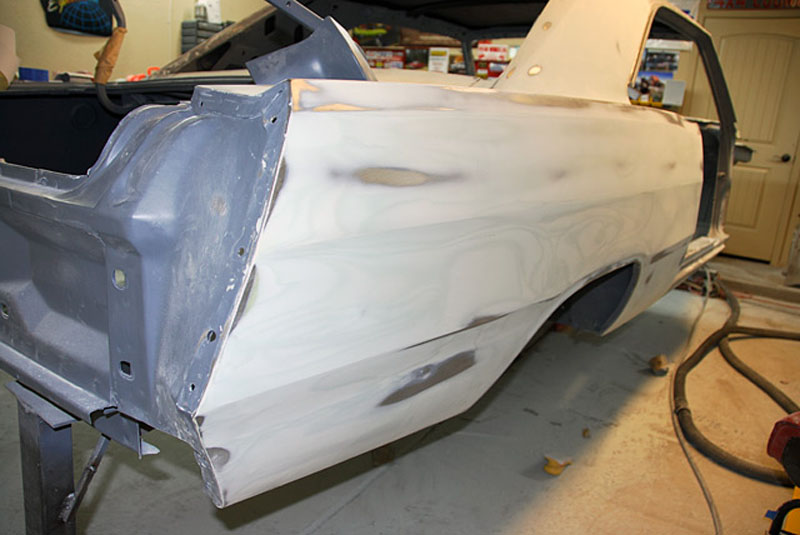
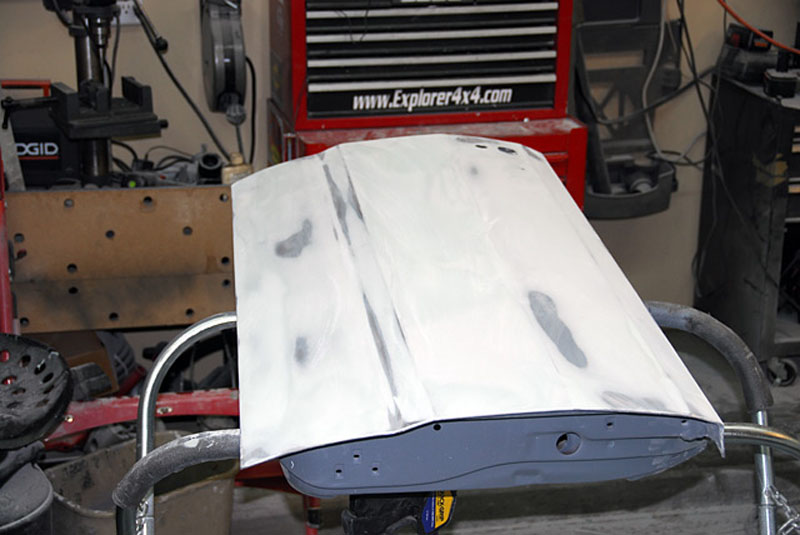
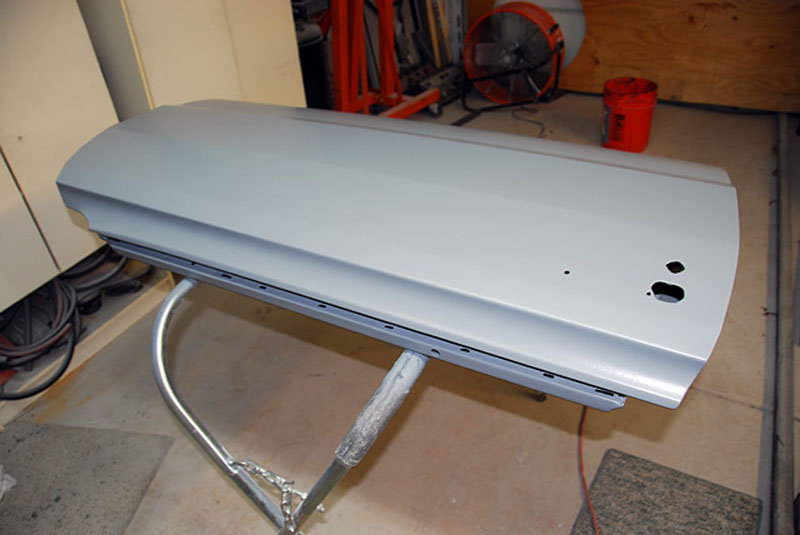
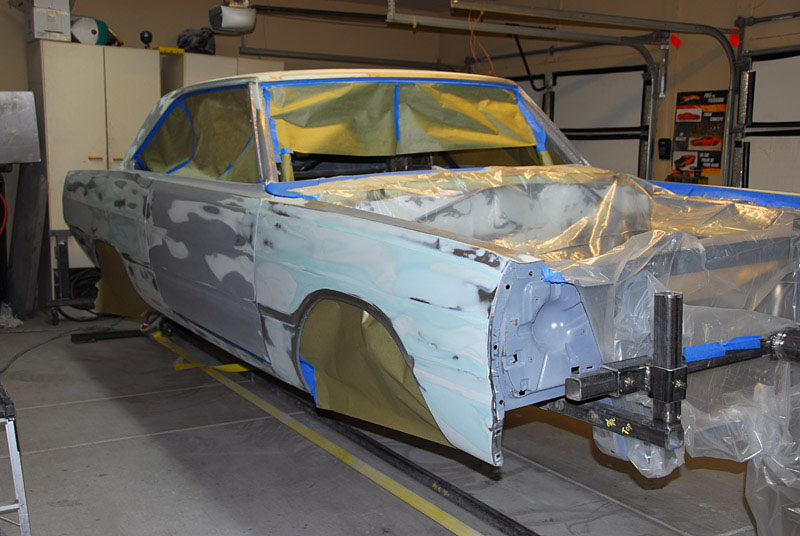
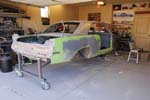
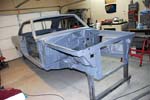
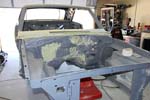
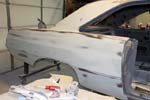
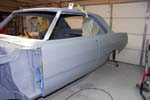
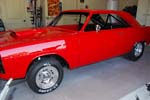
Back to this stage again... Ready for primer. |
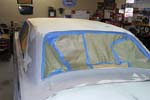
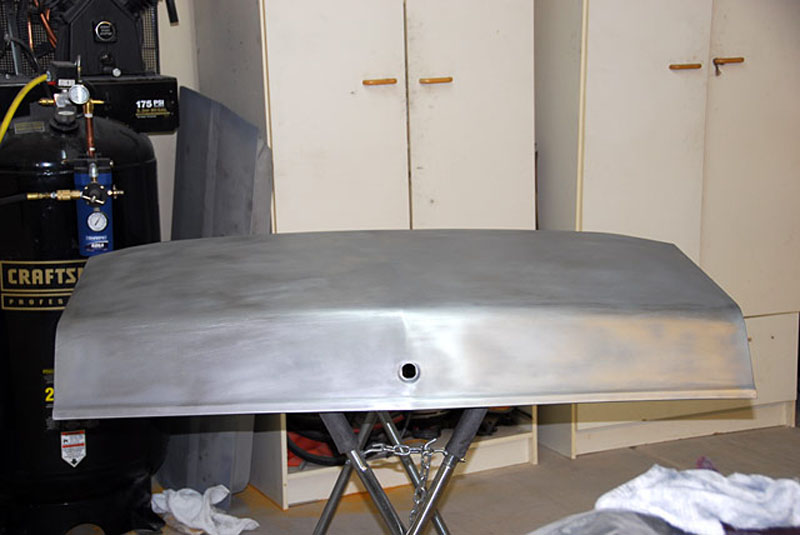
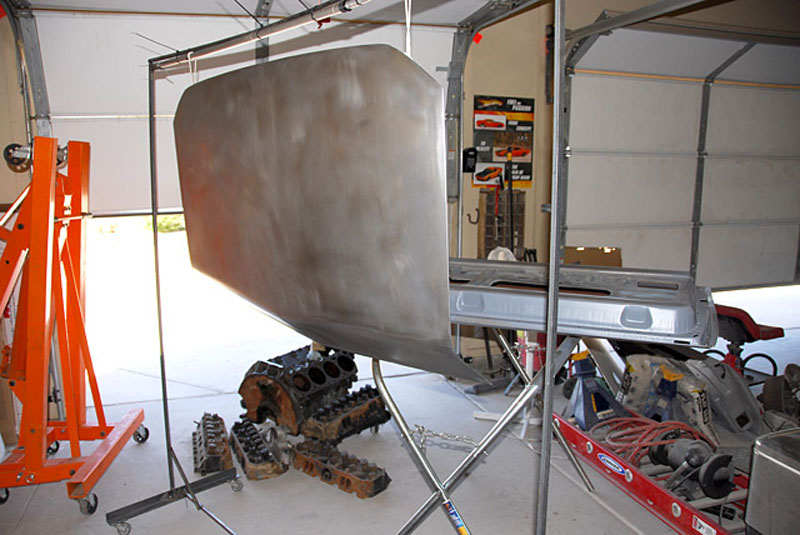
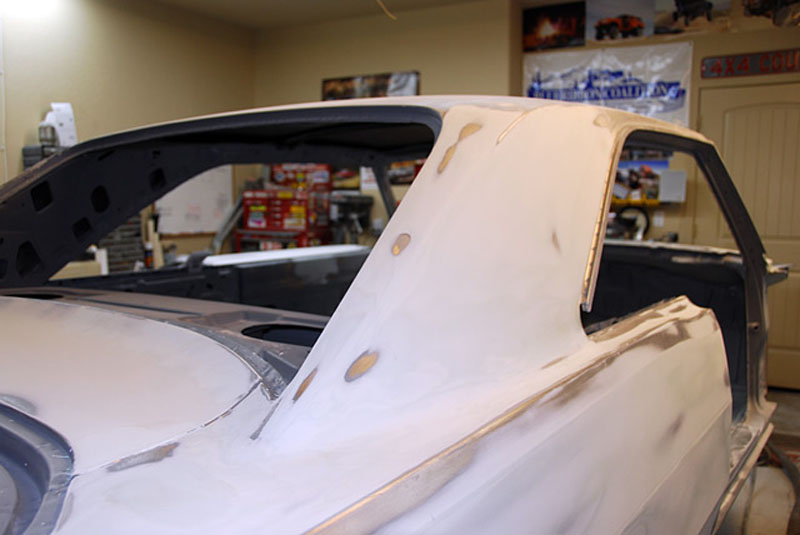
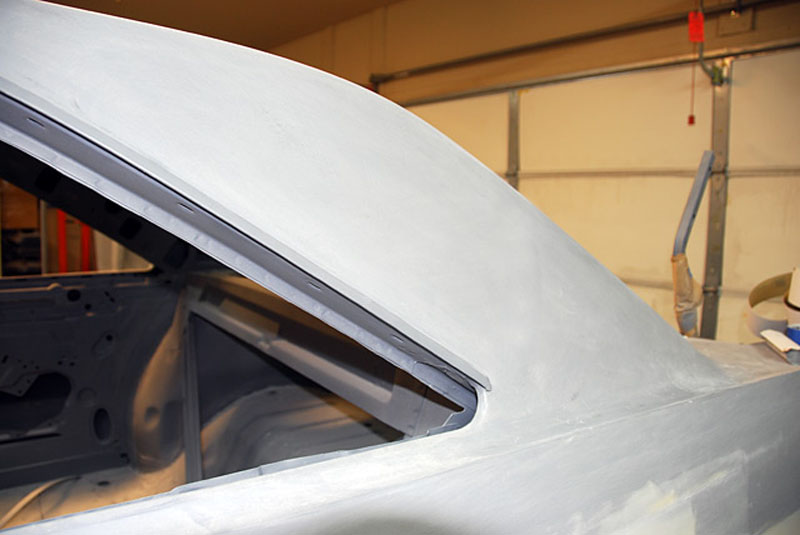
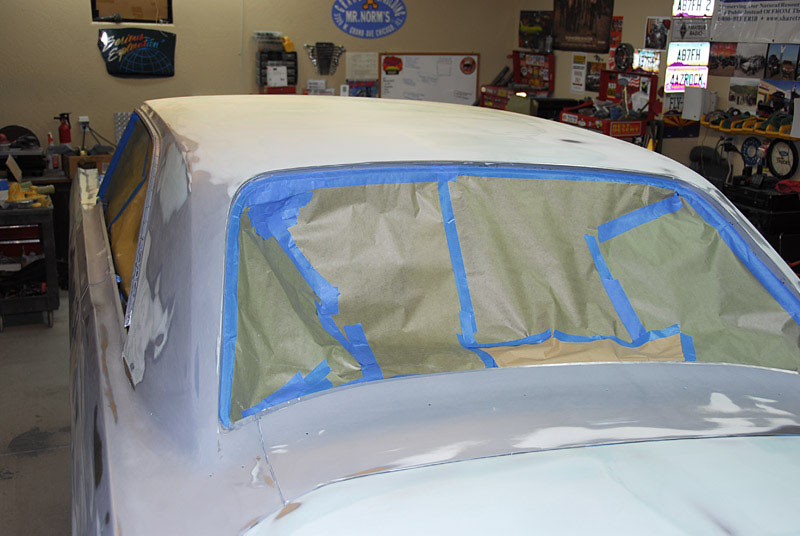
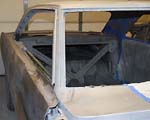
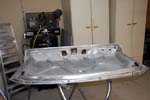
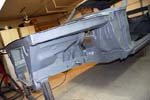
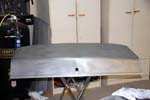
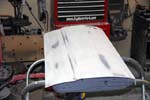
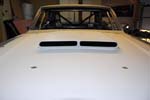
The roof needed a lot of work. When I got it it looked like some one
had sat on it in a couple spot.
I worked the dents out by "shrinking" the metal and using a
slapper paddle to get the crown back. After that I skimmed the roof
with a mix of Evercoat Extreme Rage and Evercoat Metal Glaze to thin it
out. I was pleased that it actually turned out pretty well. |
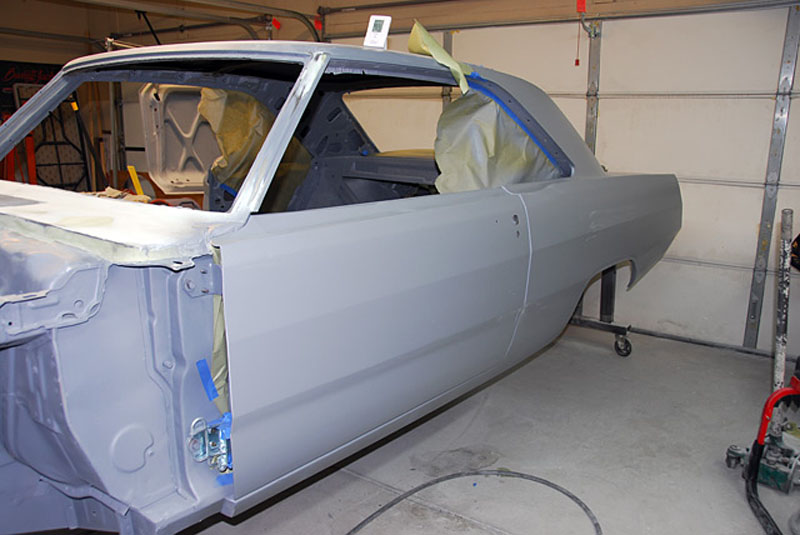
 |
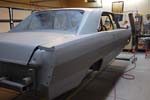
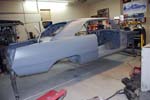
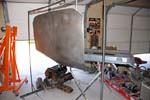
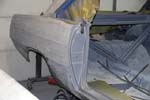
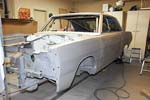
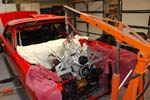
Since I went down to bare metal in several spots I shot the car with
another coat of epoxy primer before hitting it with 3 coats of high
build primer. |
 |
 |

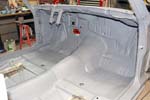
Epoxy Primed Interior |
 |
 |
 |
|

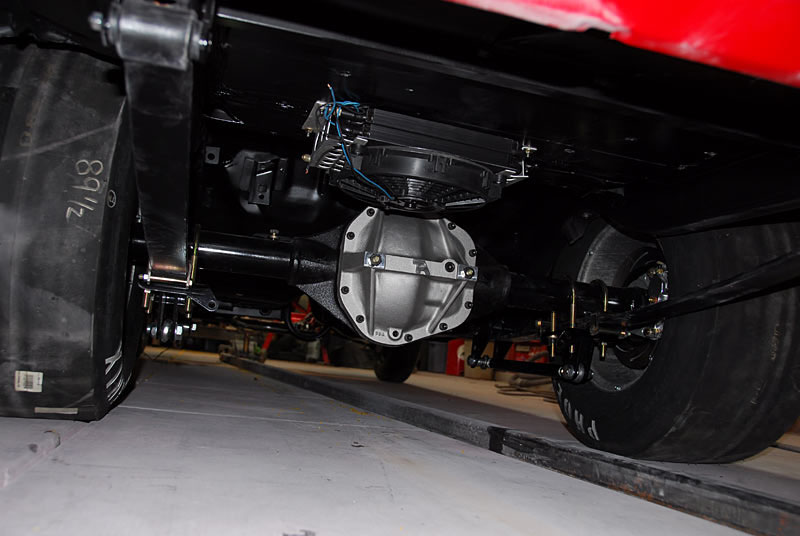
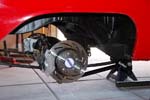
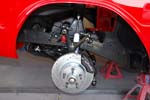
2k Chassis Black Satin
|
 |

Epoxy Primed Undercarriage
|
 |
 |
 |
 |
 |
 |
 |
 |
 |
 |

January 2010
|
 |
 |
 |
 |
 |
 |
 |
 |
 |
 |
 |
 |
 |
 |
April 2010
|
 |
 |
 |
 |
 |
 |
 |
 |
 |
 |
 |
 |
 |
|
|
|